

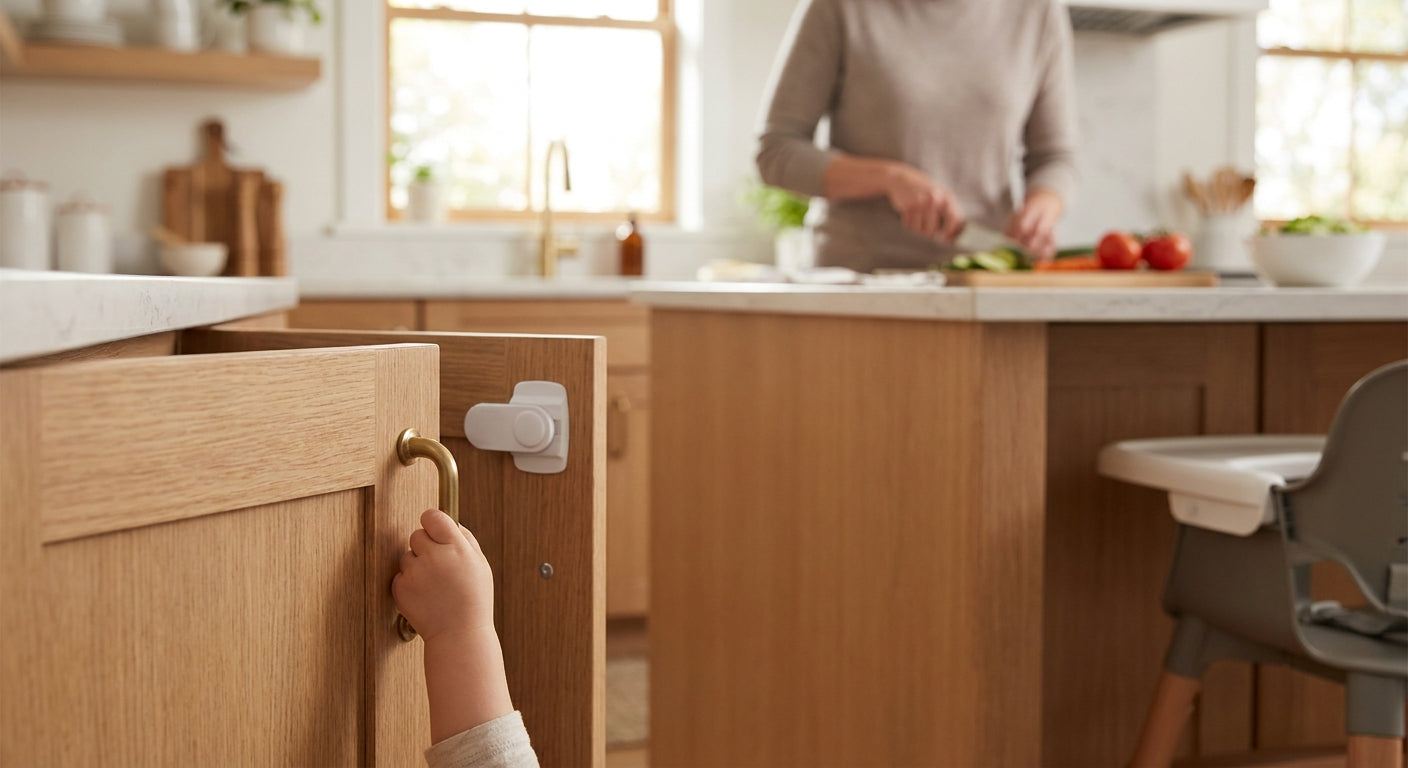
Kids find every unlatched drawer within a week of moving into a kitchen, and standard knobs and pulls do nothing to stop them. This guide walks through picking childproof cabinet hardware, installing the locks correctly, and knowing which drawers actually need it in 2026.
TL;DR
Childproof cabinet hardware means adding a lock, latch, or magnetic catch to existing knobs and pulls — you rarely need to replace the hardware itself. Cabinet catches and latches for overlay doors are the fastest fix for most kitchens, installing in under 10 minutes per cabinet with a screwdriver and no drilling. Prioritize the sink base, the trash pullout, and any drawer holding knives or cleaning supplies first; decorative knobs in high cabinets can wait. Budget roughly $1-3 per latch and a weekend afternoon for a 20-cabinet kitchen.
Why this matters
The CPSC's 2023 injury data still shows cabinet and drawer incidents among the top causes of ER visits for children under age 5, and most of those involve pinched fingers or ingested cleaning products, not falls. A locked cabinet doesn't need to look industrial — magnetic and adhesive latches sit behind the door, invisible from the front.
Homeowners often assume childproofing means ripping out their knobs and pulls for something plastic and ugly. It doesn't. Cabinet catches and latches for overlay doors mount to the inside of the cabinet frame and work with whatever knobs are already installed. The hardware you picked for looks stays exactly where it is.
What you'll need
- Phillips screwdriver (cordless drill optional, speeds up a full kitchen)
- Tape measure
- Pencil for marking screw holes
- Magnetic or adhesive cabinet latches (one per cabinet or drawer pair)
- Isopropyl alcohol wipes (for adhesive-mount latches — surface prep matters)
- A test drawer to practice on before doing the whole kitchen
If any hinges are loose, sagging, or the wrong type for your door style, handle that before adding latches — a latch mounted to a wobbly hinge won't hold. Choosing the right cabinet hinge covers how to match hinge type to face-frame or frameless construction.
The steps
1. Walk the kitchen and rank cabinets by risk
Not every cabinet needs a lock in 2026 — treating all 20 the same wastes money and your Saturday. Walk the room at toddler height (literally crouch down) and flag anything with knives, cleaners, glass, medications, or the trash pullout. Decorative-only cabinets — good china, serving platters — can stay unlocked or get a lower-priority latch later. Common mistake: locking every single cabinet on day one and giving up halfway through; rank first, install in order of risk.
2. Measure the gap between door and frame
Magnetic catches need roughly a 1/8-inch to 1/4-inch gap between the door edge and the frame to seat properly. Measure three or four cabinets before buying latches in bulk — face-frame kitchens and frameless European-style cabinets have different clearances, and a latch sized for one won't seat flush on the other. Expect a 15-30 minute measuring pass for a standard 20-cabinet kitchen.
3. Clean the mounting surface
Grease builds up fast around stove-adjacent cabinets, and adhesive-mount latches fail within weeks if applied over residue. Wipe the inside frame and door edge with isopropyl alcohol and let it dry fully — 60 seconds is usually enough. Skipping this step is the single biggest reason DIY latches fall off within the first month.
4. Mount the latch to the door
Position the latch piece on the inside of the door edge, roughly 1 inch from the top or bottom depending on the model's instructions. Mark your screw holes with a pencil before drilling — eyeballing it crooked means redrilling and patching a hole later. For adhesive versions, press firmly for a full 30 seconds; the bond needs pressure time, not just contact.
5. Mount the catch to the frame
Close the door gently to find where the frame-side catch needs to sit, then mark and mount it to align with the door piece. Test the swing before committing to screws — a catch that's off by even a quarter inch won't engage. Common mistake: mounting both pieces before testing alignment once, which means two redrills instead of one.
6. Test with an adult hand first, then a light tug
Open and close the cabinet five or six times to seat the mechanism, then give it a firm tug to simulate a determined 2-year-old. A properly seated magnetic latch should resist a hard pull but release cleanly when you press the door in and lift — that's the adult override motion. If it pops open on the first tug, the magnet strength or gap spacing is wrong for that cabinet.
7. Handle drawers separately from doors
Drawers pull straight out and need a different latch geometry than swinging doors — most drawer-specific catches mount to the underside of the counter or the drawer face itself. If you're also updating the knobs on those drawers while you're in there, installing cabinet knobs on drawers covers correct hole spacing so the new hardware and the latch don't conflict.
8. Do a final full-kitchen walkthrough
Once every priority cabinet has a latch, walk the kitchen again at toddler height and try to open each one the way a child would — from below, with both hands, pulling instead of pressing. This catches the 5-10% of installs that seat fine on the first test but fail under real kid pressure. Expect this final check to take 15 minutes for a full kitchen.
Troubleshooting
Latch pops open under a hard tug. The magnet strength is too weak for the door weight, or the gap is wider than 1/4 inch — swap to a stronger magnetic latch or add a second unit lower on tall doors.
Adhesive mount fell off within a week. Grease or moisture was on the surface at install time. Remove residue, clean with alcohol again, and let it sit 24 hours before use rather than the standard 30-second press.
Latch doesn't align after a few weeks. Cabinets shift slightly as hinges settle, especially new installs. Loosen the frame-side screws, re-align with the door closed, and retighten.
Adults can't open cabinets one-handed anymore. You've over-tightened the spring tension or picked a child-lock-only latch instead of an adult-override model. Look for latches that release with a simultaneous push-and-lift, which kids under 3 rarely manage but adults do instinctively.
Latches look bulky on glass-front or open cabinets. Skip mechanical latches there and use a slide bolt on the inside frame instead — less visible profile for cabinets with visible interiors.
One drawer keeps sticking after the latch install. Check that the drawer slide wasn't bumped out of alignment during drilling — re-seat the slide track before assuming the latch itself is the problem.
Tools and resources
- Phillips screwdriver or cordless drill
- Magnetic or adhesive cabinet latches, sized to your door gap
- Isopropyl alcohol wipes for surface prep
- Cabinet catches and latches for overlay doors for latch styles that fit standard overlay construction
- Choosing the right cabinet hinge if hinges need attention before latches go on
- Knobs.co's full hardware catalog at knobs.co for matching knobs and pulls if you're refreshing the look while childproofing
What to do next
Once the safety layer is handled, plenty of parents use the project as an excuse to refresh the room's look — whimsical cabinet hardware for kids' room furniture covers playful knob and pull options if the project extends beyond the kitchen into a playroom or bunk room in 2026.
FAQ
What is the best childproof cabinet hardware for a kitchen in 2026? Magnetic catches mounted behind overlay doors are the best option for most kitchens because they're invisible from the front and don't require replacing existing knobs or pulls. Adhesive versions work for renters; screw-mounted versions hold up better long-term for owners.
Is childproof cabinet hardware different from regular baby-proofing locks sold at big-box stores? Not fundamentally — both use magnetic, adhesive, or slide-bolt mechanisms. The difference is fit: hardware sized for your specific cabinet gap and door style holds better than a one-size-fits-all kit.
How much does childproofing a full kitchen cost? For a 20-cabinet kitchen, expect $20-60 total in latches at roughly $1-3 each, plus a couple hours of install time on a Saturday.
Do I need to replace my cabinet knobs to childproof a kitchen? No. Latches and catches mount behind the door or drawer and work independently of whatever knob or pull style is already installed.
Which cabinets should I lock first? Start with the sink base, the trash pullout, any drawer with knives, and cabinets holding cleaning supplies or medications — decorative cabinets can wait or skip locking entirely.
Can adults still open childproofed cabinets easily? Yes, with the right latch. Adult-override magnetic latches release with a simultaneous push-and-lift motion that toddlers under 3 rarely figure out but adults do without thinking about it.
How long does a full-kitchen childproofing project take? Budget 2-4 hours for a 20-cabinet kitchen, including measuring, cleaning surfaces, mounting, and a final toddler-height walkthrough.
Do glass-front cabinets need different hardware? Yes — mechanical latches look bulky against glass, so a slide bolt mounted on the inside frame is the better fit for visibility reasons, not safety reasons.
One last thing
The cabinet parents skip most often is the one under the sink holding dish soap and drain cleaner — it's low, easy to reach, and gets deprioritized because it's not the trash pullout everyone remembers first. Lock that one before the decorative cabinets, not after.