

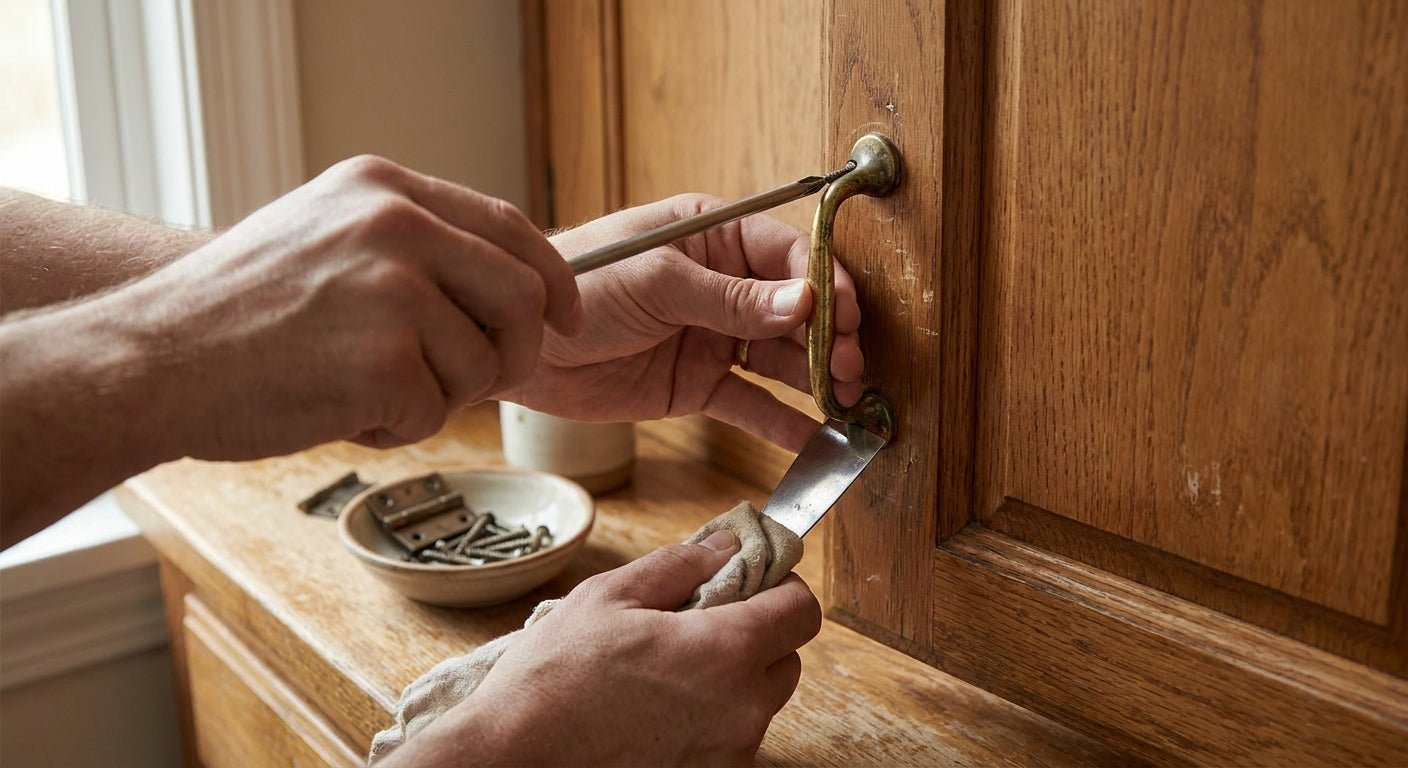
Old cabinet knobs and pulls look like a five-minute job until a screw strips, the finish flakes off around the base, or twenty years of paint has fused the hardware to the door. This guide covers the exact removal sequence that keeps cabinet doors and drawer fronts intact, whether you're swapping ten knobs or refitting an entire kitchen in 2026.
TL;DR
Removing cabinet hardware without damage comes down to three things: the right screwdriver bit, working from the inside of the cabinet (not prying from the front), and knowing when to stop and use a heat gun instead of force. A #2 Phillips or the correct JIS bit handles 90% of cabinet screws made since the 1980s. If a screw is painted over or rusted, back off, apply penetrating oil, and wait 10 minutes rather than stripping the head. Verdict: DIY removal is safe for shaker, flat-front, and most face-frame cabinets — the risk is almost always screw damage or finish chipping, not structural harm to the door itself. Budget 5 minutes per pull once you've done the first two or three.
Why this matters
Cabinet doors and drawer fronts are the most expensive part of a kitchen to replace, not the hardware. A stripped screw hole, a cracked drawer front, or gouged paint around a knob base turns a $6 knob swap into a $200 refinishing job. Painted cabinets are the highest-risk surface in 2026 remodels because layers of paint bond hardware bases to the wood in ways bare wood or laminate never does.
The other reason this matters: most hardware upgrades reuse the existing screw holes. If you damage the wood around a hole during removal, you either have to fill and redrill or accept a mismatch when the new Knobs hardware has a different hole spacing than what's currently installed. Getting removal right the first time saves the second job.
What you'll need
- #2 Phillips screwdriver (magnetic tip preferred)
- JIS (Japanese Industrial Standard) screwdriver bit — common on older imported cabinet lines
- Painter's tape
- A small block of scrap wood or a putty knife wrapped in cloth
- Penetrating oil (WD-40 or PB Blaster) for seized screws
- A heat gun or hair dryer for painted-over hardware
- 220-grit sandpaper
- A small container or egg carton to sort screws by cabinet location
- A tape measure, if you're planning to reinstall hardware at the same hole spacing
If you're already shopping replacement pulls, note the current center-to-center spacing before you remove anything — it's the single most common step people skip.
The steps
1. Tape the surrounding finish
Run a strip of painter's tape around each knob or pull base before touching a screwdriver. This protects painted or lacquered surfaces from the screwdriver slipping and scoring the finish. It takes 10 seconds per piece and prevents the most common cosmetic damage in this whole process.
2. Access the screw from inside the cabinet
Open the door or drawer and locate the screw or screws on the interior face. Nearly all cabinet knobs use a single screw; pulls use two. Never try to unscrew from the front — the head is decorative and doesn't turn.
Common mistake: forcing a screwdriver into a screw head that's already stripped from a previous install. If the head looks rounded or chewed up, switch to a rubber band trick first — lay a wide rubber band over the screw head and press the screwdriver through it for extra grip.
3. Back the screw out slowly
Apply steady downward pressure and turn counterclockwise in short quarter-turns rather than one continuous spin. Cabinet hardware screws are usually 1-inch to 1-1/4 inch long depending on door thickness, and rushing the last few turns is when screws snap inside the hole.
4. Support the hardware as the last thread releases
Cup your hand under the knob or pull on the front face as the final thread backs out. Hardware that drops the last quarter-inch onto a painted door face is the number one cause of chipped finish during removal, especially on white shaker cabinets.
5. Deal with painted-over screws before forcing them
If a screw head is filled with paint, don't crank on it. Run a utility knife point around the screw head to break the paint seal, then try again. If it still won't turn, apply penetrating oil, wait 10 minutes, and retest — forcing a paint-sealed screw is the fastest way to strip the head or crack the wood around it.
6. Remove any residual adhesive or backplate
Some installs use a decorative backplate behind the knob, sometimes with a thin bead of adhesive at the edges. Slide a plastic putty knife (never metal) flat against the door and work it gently under the backplate edge. Metal tools are what cause the gouges people associate with hardware removal.
7. Fill or note the holes immediately
If you're not reinstalling the same day, stuff each screw hole with a toothpick or wooden matchstick coated in wood glue, snap it flush, and let it dry. This keeps the hole from collecting paint or grime and keeps it ready for a same-size screw later. Skipping this step is why so many hole-fill jobs happen a year later instead of a week later.
8. Sort hardware and screws by location
Drop each knob, pull, and its screws into a labeled compartment as you go — kitchen island, upper cabinets, drawer bank. If any of the hardware is being resold, reused elsewhere, or matched to new Knobs hardware, matching screw length to door thickness later saves a second trip to the hardware drawer.
Troubleshooting
Screw head is stripped and won't grip. Try a rubber band between the screwdriver tip and the screw head for extra bite. If that fails, a screw extractor bit (sold in most hardware stores) drills a small pilot and reverses the screw out.
Screw snapped off inside the hole. Don't drill blind. Use needle-nose pliers if enough of the shank protrudes, or a screw extractor kit if it's flush. This is rare — it happens mostly on screws that have been painted over multiple times.
Knob base is glued or caulked to the door. Common on older builder-grade cabinets. Score around the base with a utility knife first, then work a plastic putty knife under the edge rather than pulling straight off.
Paint chips around the base the moment the knob comes off. This means the paint film was thicker than the hardware base and cracked on removal, not that you did anything wrong. Sand the chip edge with 220-grit paper before repainting or filling.
Backplate leaves a ghost outline on painted cabinets. Sun exposure and years of use fade the paint around the visible hardware differently than the paint underneath. If you're switching to a smaller backplate or none at all, expect to touch up paint in that spot regardless of removal technique.
Hinge screws are seized on cabinet doors. Heat matters more than force here — 15-20 seconds with a hair dryer on the hinge plate softens old grease and paint enough to back the screw out without stripping it.
Tools and resources
A cabinet hardware jig makes the reinstall dramatically faster and more accurate once removal is done, especially if you're changing from a knob to a pull and need new holes drilled — the hardware jig guide covers setup for face-frame and flat-front doors. Before you commit to new hardware, ordering a few finish samples against your actual cabinet color under your kitchen lighting avoids a mismatch that only shows up after installation — see the guide to ordering samples before a remodel.
What to do next
Once every knob and pull is off and the holes are filled or noted, the next step is confirming your existing hole spacing so new hardware drops into the same holes without new drilling — how to measure cabinet pull hole spacing walks through the center-to-center measurement in under five minutes per drawer. After that, installation itself takes roughly the same time as removal did.
FAQ
What's the best tool for removing cabinet hardware? A magnetic-tip #2 Phillips screwdriver handles most jobs; keep a JIS bit on hand for older or imported cabinet lines where the screw head doesn't quite match a standard Phillips.
How long does it take to remove hardware from a full kitchen? For 30-40 pieces of hardware, plan on 2-3 hours including sorting and hole-filling, or about 5 minutes per piece once you've got a rhythm.
Will removing knobs damage the cabinet finish? Not if you tape around the base first and support the hardware as the last screw thread releases — the finish damage people report almost always comes from a slipped screwdriver or hardware dropping onto the door face.
Is it better to remove hardware before or after painting cabinets? Always before. Painting over installed hardware seals screws in place and is the single biggest cause of stripped heads during future removal.
Do painted cabinets need special removal steps? Yes — score around the screw head and knob base with a utility knife first to break the paint seal before applying any turning force.
Can I reuse the existing screw holes for new hardware? Yes, as long as the new hardware's hole spacing matches the old. Measuring before removal, not after, is what makes reuse possible.
What if a screw is completely seized? Apply penetrating oil, wait 10 minutes, and retest before reaching for a screw extractor kit — most seized screws release with oil and patience alone.
Do I need a hardware jig just to remove old knobs? No — a jig is only needed for reinstalling in new positions. Removal itself needs nothing more than a screwdriver and some patience.
One last thing
The detail almost everyone skips: measuring hole spacing on the old hardware before it comes off, not after. Once a knob is off and the hole is empty, guessing whether it was a 3-inch or 3-3/4-inch pull becomes a real problem if the new hardware doesn't match. Thirty seconds with a tape measure before you touch a screwdriver saves a redrilling job later in 2026 or whenever the next remodel happens.