

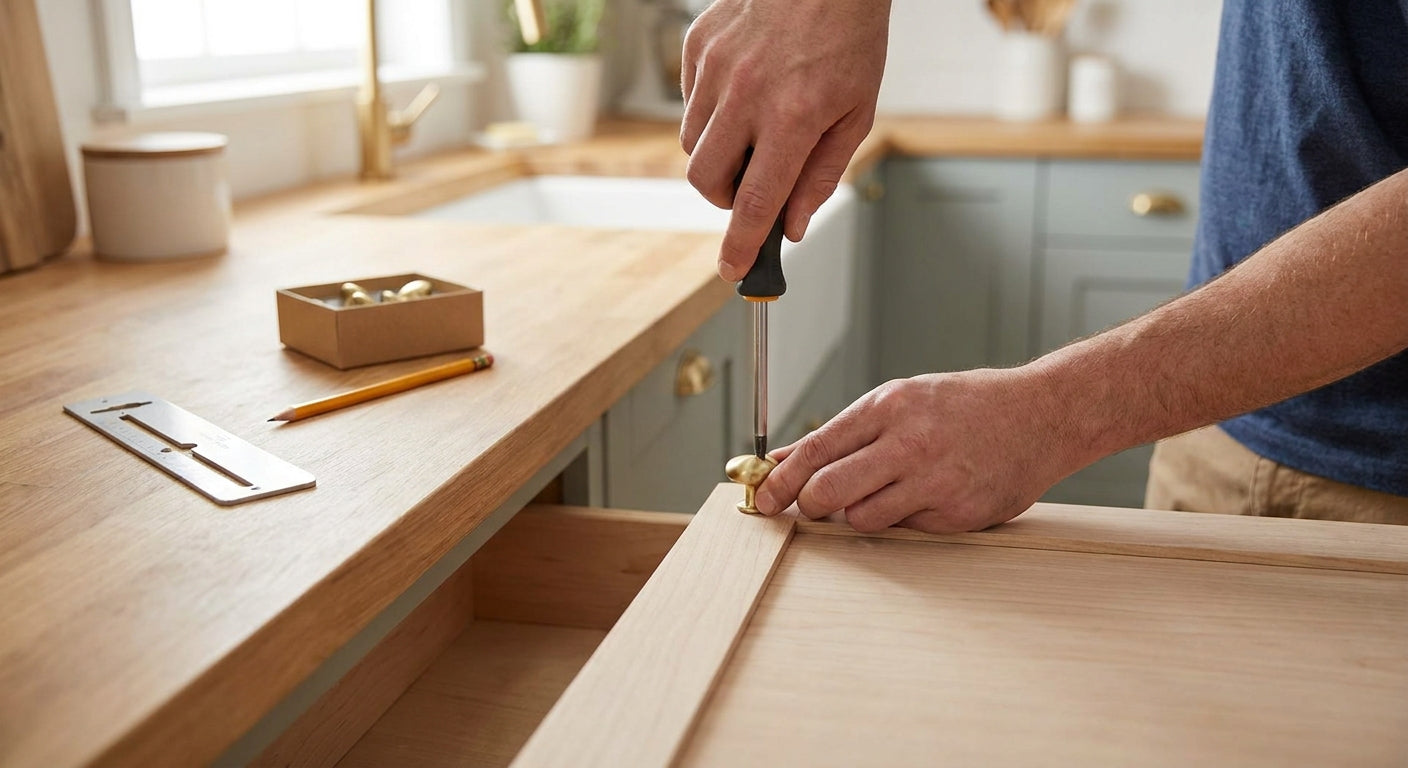
Installing cabinet knobs takes under an hour for a full kitchen if you mark before you drill and match the screw to your door thickness. Get those two things wrong and you end up with crooked hardware, stripped screws, or knobs that wobble the first week. This guide covers the full process, the tools that make it foolproof, and the mistakes that show up on inspection day.
- A cabinet hardware jig centers every knob in under 10 minutes per door — skip freehand marking in 2026.
- Standard cabinet knob screws are 8-32 thread and 1 inch long; that's too short for doors thicker than 3/4 inch.
- Center most knobs 2 1/2 to 3 inches from the door's inside corner for a consistent look across a full kitchen.
- Drawers get one knob centered top-to-bottom and left-to-right on the face — measure twice, drill once.
- Mixing screw lengths across a remodel is the most common install mistake; order a few extra when you buy hardware.
Why this matters
Cabinet knobs are a small purchase with an outsized effect on how a kitchen or bathroom reads. A knob installed a half-inch off-center is visible from across the room, and it's the kind of detail that makes a $30,000 remodel look like a DIY weekend. Choosing the right cabinet knob size before you drill matters just as much as the install itself — a knob that's too small for a heavy oak door looks lost, and one that's oversized on a thin drawer front looks clunky.
The install itself isn't hard. It's a drill, a screw, and a mark. What separates a clean job from a redo is preparation: knowing your screw length, having a straight reference point, and testing on one door before committing to twenty.
What you'll need
- Power drill with a 1/8-inch bit (adjust for your screw gauge)
- Tape measure and pencil, or a marking template
- Painter's tape to prevent splintering on painted wood
- Screwdriver (Phillips or flathead, matching your screws)
- A level or square for door-to-door consistency
- The knobs and matching screws — check screw length before you start, not after
- A cabinet hardware jig if you're doing more than four or five doors
If you're outfitting a full kitchen, a jig pays for itself by door number three. A cabinet hardware jig clamps to the door edge and gives you a repeatable pilot-hole location every time, which matters more than any single measurement skill.
The steps
1. Decide on knob placement before you touch a drill
Most kitchens center knobs 2 1/2 to 3 inches diagonally from the inside corner of the door, on the side closest to the counter. This isn't a rule carved in stone, but consistency across every door matters more than the exact number you pick. Pick one placement and stick to it for the whole job.
Common mistake: measuring from the outside edge on some doors and the inside edge on others. That inconsistency is invisible door by door and glaring once the kitchen is finished.
2. Mark your first hole and test it
Use a pencil and a square, or set your jig to the placement you chose in step one. Mark one door first — don't mark the whole kitchen off a single measurement and hope it holds up.
For doors and drawers together in one project, measuring pull hole spacing upfront saves you from switching your marking method halfway through, since knobs use a single point and pulls use two.
Drill the pilot hole on your test door, screw the knob on, and stand back six feet. If it looks right, that's your template for the rest of the kitchen.
3. Apply painter's tape on painted or finished doors
This step is optional on raw wood but non-negotiable on painted or lacquered cabinets. A drill bit that skips on entry chips finish instantly, and touch-up paint never matches perfectly under kitchen light.
Lay a small piece of tape over your mark, then re-mark the hole location on top of the tape. The tape holds the finish together as the bit bites in.
4. Drill the pilot hole at the right bit size
Most cabinet knob screws use an 8-32 thread, which pairs with a 1/8-inch to 5/32-inch pilot bit depending on door density. Drill straight through — a bit that walks even 2-3 degrees off vertical shows up as a tilted knob on the finished door.
Hold the drill at a right angle to the door face, not to your body. On angled cabinet fronts or curved doors, brace the drill against a flat reference surface if you can.
5. Match the screw to your door thickness
Standard cabinet doors run 3/4 inch thick; standard knob screws ship at 1 inch, which clears that thickness with room to spare. Thicker doors — inset cabinetry, custom millwork, anything over 7/8 inch — need a longer screw or the knob won't seat flush.
This is the single most common return reason in cabinet hardware: a beautiful knob that won't tighten because the stock screw is too short for the door.
6. Attach the knob and check for wobble
Thread the screw through the door from the inside, then screw the knob on from the front. Hand-tighten first, then finish with a screwdriver — power drivers over-torque and can crack a decorative knob's finish or strip a soft metal screw.
Give the knob a firm wiggle test. Any play means the screw isn't fully seated or the pilot hole is oversized.
7. Repeat, checking every fifth door against your original
Work through the kitchen in batches, and re-check your jig or template against the first door every four or five doors. Templates can shift slightly with repeated clamping, and catching drift early beats redrilling a finished door.


Troubleshooting
Screw won't tighten flush. The screw is too short for your door thickness. The right screw length for cabinet hardware depends on door depth, not knob size — measure the door before ordering replacements.
Knob sits crooked despite a straight pilot hole. The backplate or knob base isn't flush against an uneven door surface. Sand a light burr around the hole or add a thin felt washer behind the knob.
Screw strips out of a soft pilot hole. This happens on MDF or particleboard doors more than solid wood. Back the screw out, add a drop of wood glue into the hole, let it set 20 minutes, and redrill slightly undersized.
Finish chips around the drill entry point. You skipped the painter's tape step, or the bit speed was too high on entry. Slow the drill down for the first quarter-inch, then speed up once you're through the surface.
Knob placement looks inconsistent door to door. Your template or jig shifted partway through the job. Stop, re-check against your original test door, and reset the reference point before continuing.
Tools and resources
- Power drill with adjustable clutch, matching drill bits
- A cabinet hardware jig for runs of five doors or more
- Painter's tape for finished or painted surfaces
- Wood glue for stripped or oversized pilot holes
- Replacement screws in multiple lengths, since door thickness varies room to room
Drawers follow a slightly different rule than doors — center on the face rather than off a corner. Installing knobs on drawers uses the same drilling technique but a different placement math, worth reading before you move from doors to drawer fronts.
FAQ
How do you install cabinet knobs without a jig?
Mark the placement on one door with a pencil and square, drill a test hole, and use that door as a physical template for the rest by tracing its hole location onto painter's tape on each subsequent door. It's slower than a jig but works fine for fewer than five doors in 2026 kitchens.
What size screw do cabinet knobs use?
Cabinet knobs typically use an 8-32 thread screw, 1 inch long, which fits standard 3/4-inch cabinet doors. Thicker or inset doors need a longer screw, sold separately from most knobs.
Where should a cabinet knob be placed on a door?
Most installs center the knob 2 1/2 to 3 inches diagonally from the inside corner of the door, on the side nearest the counter or opening edge. Consistency across every door matters more than the exact measurement chosen.
Can you install cabinet knobs without drilling?
Adhesive-mount knobs exist, but they carry lower weight ratings and loosen faster under daily use than a screwed installation. For a permanent kitchen install, drilling a pilot hole is the reliable method.
How long does it take to install cabinet knobs on a full kitchen?
A standard kitchen with 20 to 30 doors and drawers takes roughly one to two hours with a jig, once you've tested placement on the first door. Freehand marking without a template roughly doubles that time.
Do you need a template to install cabinet pulls?
A template isn't required but it prevents the most common pull installation error: two-hole spacing that doesn't match between doors. For pulls, spacing precision matters more than for single-hole knobs.
Why does my cabinet knob wobble after installation?
A wobbling knob usually means the screw isn't fully seated or the pilot hole is slightly oversized for the screw thread. Remove the knob, check the screw is hand-tight against the door back, and re-seat it.
What drill bit size do you need for cabinet knobs?
Most cabinet knob screws pair with a 1/8-inch to 5/32-inch pilot bit, depending on the screw gauge and door density. Check the screw thread before drilling, since an oversized pilot hole causes wobble later.
One last thing
The detail most people skip is testing on one door before committing to the whole kitchen. A single test install takes five extra minutes and catches placement mistakes before they're drilled into twenty doors instead of one — the cheapest insurance in the entire job.