

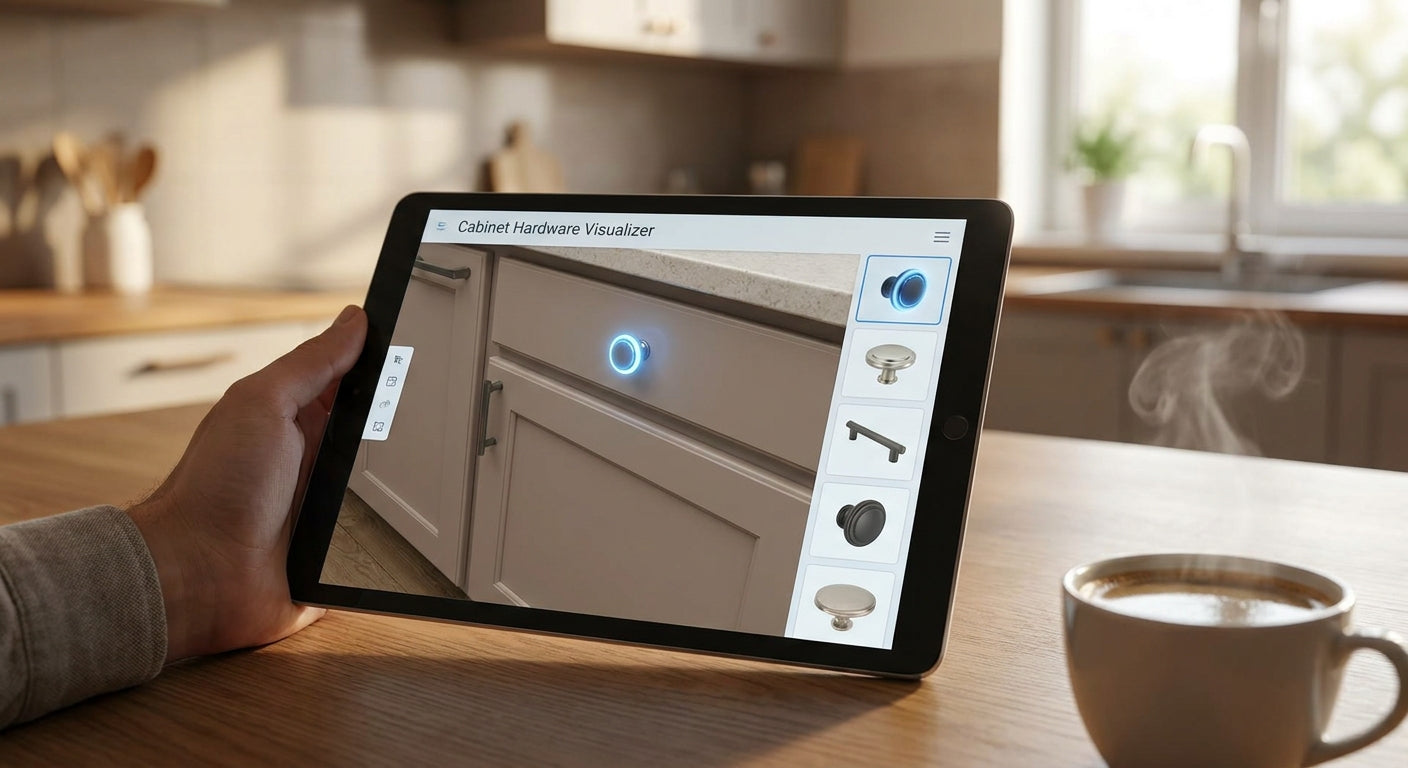
A cabinet hardware visualizer lets you drop knobs and pulls onto a photo of your own cabinets before you spend a dollar, and in 2026 most shoppers use one to avoid the classic mistake of ordering hardware that looks nothing like it did on a screen. This guide walks through the exact steps to get a usable, accurate preview in under 20 minutes.
TL;DR
A cabinet hardware visualizer works by overlaying a to-scale image of a knob or pull onto a photo of your cabinet door or drawer front, so you can judge finish, size, and placement before ordering. The tool only helps if your photo is straight-on, well-lit, and includes something for scale — skip those steps and the preview lies to you. Verdict: use a visualizer for finish and style decisions, but confirm hole spacing and pull length with a tape measure before you buy from Knobs. Pair the visualizer with actual hardware samples for the final call, especially on finishes like unlacquered brass or matte black that shift under different lighting.
Why this matters
Cabinet hardware is one of the few home upgrades where a $6 part changes the entire personality of a room, and it's also one of the easiest to get wrong sight unseen. A pull that reads warm gold on a laptop screen can look flat brass in your kitchen's LED lighting. A knob that looks proportional in a stock photo can look tiny on your 18-inch drawer front.
Visualizer tools solve the style-guessing problem. They do not solve the measurement problem, and that distinction is where most first-time buyers get tripped up in 2026. Treat the visualizer as your style filter, not your final measurement source.
What you'll need
- A smartphone camera or DSLR
- One cabinet door or drawer front, closed and clean
- A tape measure (metal, not fabric — fabric tape stretches and throws off scale)
- Painter's tape and a pencil for marking hole centers
- A printed reference object of known size (a credit card works, or a ruler)
- 15 to 20 minutes, uninterrupted
- The current hole spacing on your cabinet, if you're replacing existing hardware
If you're buying new cabinets with no existing holes, skip the hole-spacing step and instead decide your pull length first, then work backward from there.
The steps
1. Photograph your cabinet straight-on
Stand directly in front of the door or drawer, not at an angle, and fill the frame with just that one panel. Angled photos distort proportions and make a 5-inch pull look 6 inches or vice versa. Shoot in daylight if you can — overhead kitchen lighting tends to yellow everything, which throws off finish comparisons later. Common mistake: shooting the whole cabinet run instead of one panel, which makes the visualizer shrink the hardware to an unusable size.
2. Include a scale reference in the frame
Tape a ruler or lay a credit card flush against the door edge before you shoot. Most visualizer tools ask you to calibrate scale using a known object, and skipping this step is the single biggest reason previews come out wrong. Without a scale reference, the tool is guessing, and so are you.
3. Upload the photo and set your dimensions
Open the visualizer, upload the calibrated photo, and enter the exact width of your cabinet door or drawer front in inches. This tells the tool how to scale every piece of hardware you try against your actual cabinet, not a generic template. Expected outcome: the tool should show your cabinet at true-to-life proportions once calibration is confirmed.
4. Filter by finish and style before placing anything
Narrow the hardware options by finish family — brushed nickel, matte black, unlacquered brass, champagne bronze — and by style, whether that's transitional, mid-century modern, or traditional. Trying every SKU in the catalog on your photo wastes time and buries the comparisons that matter. Most shoppers land on 2 or 3 finish finalists within the first five minutes once they filter this way.
5. Place the hardware and check hole spacing separately
Drop the virtual pull or knob onto the drawer front and check how it reads visually, but do not trust the tool's suggested hole spacing as gospel. Cross-check against a cabinet knob size guide or measure your own existing holes with a tape measure. Getting the visual right and the spacing wrong means you'll drill new holes anyway. Common mistake: ordering a 5-inch center-to-center pull because it looked right on screen, then discovering existing holes are spaced at 3 inches.
6. Compare finalists side by side
Most visualizers let you save two or three placements and flip between them. Do this rather than eyeballing one option at a time from memory — direct comparison catches subtle differences, like whether brushed nickel reads too cool against a warm-toned cabinet stain. Take a screenshot of each comparison so you can review it later without re-doing the work.
7. Order physical samples of your top picks
A screen, no matter how good, cannot fully replicate how a finish catches light in your kitchen at 7am versus 7pm. Before finalizing, request samples of your top two or three finishes and hold them against your actual cabinet in your actual lighting. This step catches the gap between digital rendering and reality more reliably than any visualizer update in 2026.
8. Confirm measurements one last time before ordering
Re-measure hole spacing, pull length, and projection (how far the hardware sticks out from the door) after you've settled on a finish. Hardware backplates, if you're using them, add their own footprint that the visualizer may not account for — check the sizing on any cabinet backplate option before you finalize the order. Expected outcome: a final SKU list with confirmed hole spacing, confirmed finish, and confirmed projection depth.
Troubleshooting
- The hardware looks huge or tiny on screen — your scale calibration is off. Redo step 2 with a ruler flush against the cabinet edge.
- The finish looks different than the product photos — screen brightness and color profile vary by device. Order a physical sample before committing.
- The tool won't let me upload a photo — check the file size; most visualizers cap uploads around 10MB and reject HEIC formats from newer iPhones. Convert to JPEG first.
- Placement looks centered but feels off in person — visualizers often center hardware mathematically, not visually. Human eyes read center-weighted placement differently, especially on appliance pulls; nudge it up or down slightly and reassess.
- My existing holes don't match any pull length shown — you'll need a backplate to cover the gap, or a pull with a longer footprint. Don't force a mismatch.
- The visualizer doesn't have my exact cabinet color — pick the closest wood tone or paint shade available and adjust your judgment for warmth or coolness manually.
Tools and resources
- Metal tape measure (fabric tape adds error)
- A cabinet hole spacing guide for confirming existing hardware positions
- A cabinet knob size guide for scaling knobs to door dimensions
- Painter's tape and pencil for physical mock-ups if you want a non-digital backup check
- Physical hardware samples, ordered before final purchase
What to do next
Once you've picked a finish and confirmed spacing, the next decision is whether to mix finishes across your kitchen or keep everything uniform. That's a separate call from the visualizer step, and it's worth reading before you finalize a whole-kitchen order — see the guide on how to mix metal finishes in a kitchen for the rules that keep a mixed-finish kitchen looking intentional rather than mismatched.
FAQ
What is a cabinet hardware visualizer? It's a digital tool that overlays a to-scale image of a knob or pull onto a photo of your cabinet, letting you preview finish and placement before ordering. Accuracy depends entirely on how well the photo is calibrated for scale.
Is a cabinet hardware visualizer accurate for finish color? It's a reasonable starting filter but not a final answer, since screen brightness and color profiles vary by device. Order a physical sample of your top 2-3 picks before committing in 2026 or any year.
How much does it cost to use a cabinet hardware visualizer? Most retailer-hosted visualizer tools are free to use since they're built to drive hardware sales, not charge for previews. Check the specific tool you're using, since policies vary by site.
Can I use a cabinet hardware visualizer without existing holes? Yes — for new cabinets with no drilled holes, decide your pull length and hole spacing first, then use the visualizer purely for finish and style comparison.
Do I still need to measure my cabinets if I use a visualizer? Yes, always measure independently. Visualizers scale to your uploaded photo, but a calibration error of even half an inch compounds across every hardware option you try.
What's the biggest mistake people make with cabinet hardware visualizers? Skipping the scale reference photo (a ruler or credit card in frame) is the top error, since it makes every proportion on screen a guess rather than a measurement.
Should I order samples even after using a visualizer? Yes. A screen preview and a physical sample under your kitchen's actual lighting can look noticeably different, especially with unlacquered brass, champagne bronze, or matte black finishes.
How long does it take to use a cabinet hardware visualizer properly? Budget 15 to 20 minutes for photographing, calibrating, and comparing 2-3 finalists — rushing the photo step is what causes most redo requests later.
One last thing
The detail most people skip: appliance pulls and cabinet pulls almost never share the same hole spacing standard, so if you're visualizing a matching set across your kitchen and a dishwasher panel, check each category separately rather than assuming one spacing fits both. It's a five-minute check that prevents a returned order.


