

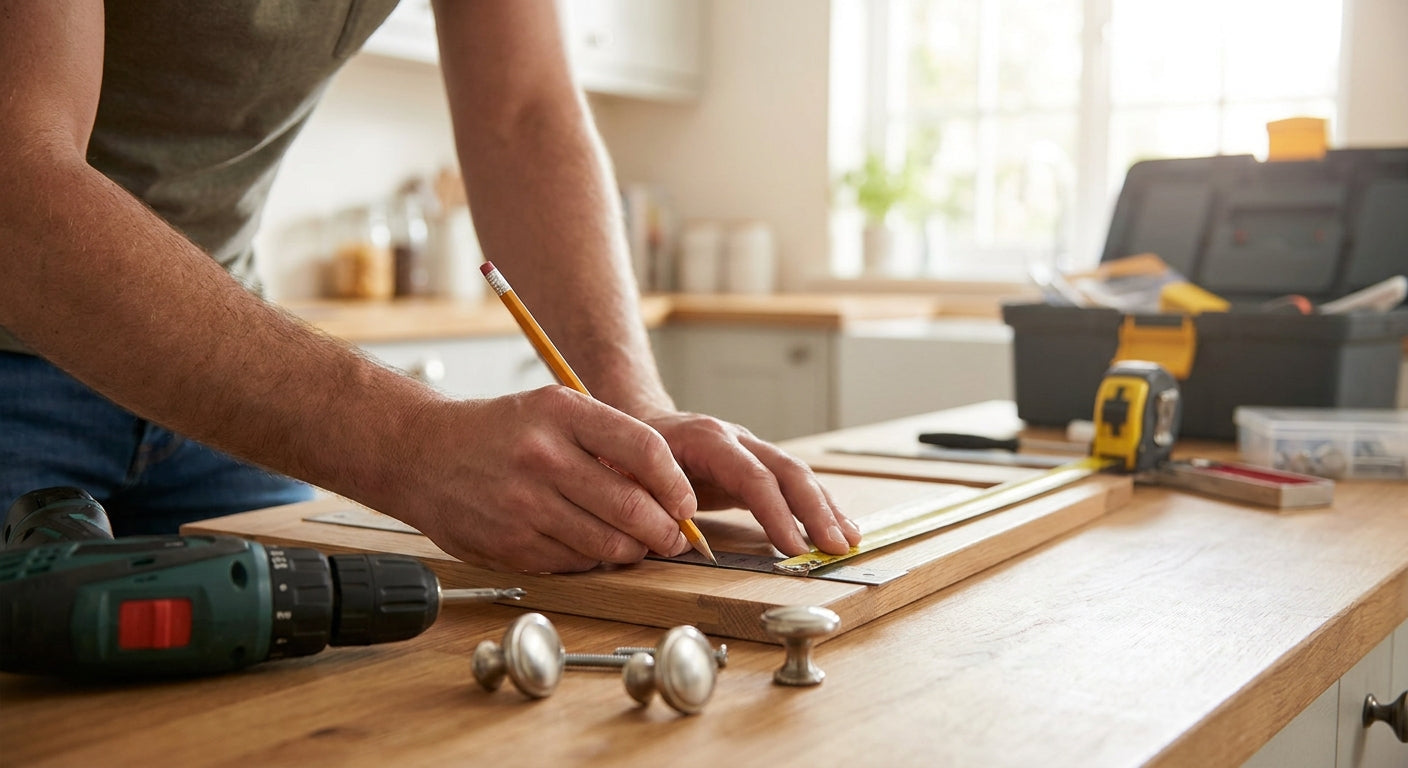
Installing cabinet knobs without a jig comes down to one homemade guide, a center punch, and patience on the first hole — every hole after that copies itself.
- A cardboard story stick replaces a store-bought jig for most kitchens under 20 doors in 2026 — mark once, drill the rest in under an hour.
- Corner-mount knobs sit 1-1/4 to 1-3/8 inches diagonally from the door corner; get that one measurement right and every door matches.
- A 3/16-inch pilot bit fits the screw on nearly every knob sold in 2026, including the Schaub and Company 704-PN round knob.
- Pre-cut single-size cardboard jigs fail on mixed knob diameters — the most common install mistake homeowners make without a jig.
- Verdict: install cabinet knobs without a jig is a Buy for kitchens under 20 doors, Consider a real jig past that count.
Why This Matters
A jig costs money and only pays off past a certain door count. Below that, it's dead weight in a drawer.
The real risk isn't skipping the jig — it's skipping the story stick. Without a repeatable mark, knob one lands at 1-1/4 inches and knob twelve lands at 1-5/8 inches, and it shows the second the kitchen lights hit the doors at an angle.
Get the hole spacing right once and every subsequent door or drawer front in the run copies that measurement exactly, jig or no jig.
What You'll Need
- Tape measure (metal, not cloth — cloth stretches and throws off repeat measurements)
- Pencil with a sharp point, not a marker
- A piece of stiff cardboard or manila folder, roughly 4x4 inches
- Center punch or awl
- Cordless drill
- Drill bit sized to your knob's screw — 3/16 inch covers most standard screws in 2026
- Painter's tape
- Phillips or flathead screwdriver matching your screw head
- Your knobs, with screws already in the package
Skip the store-bought pre-cut jig entirely here. It only handles one knob diameter and one overlay style, and most kitchens mix at least two door widths.
The Steps
1. Pick your reference point and mark the first hole
Every knob on cabinet doors gets measured the same way: diagonally in from one corner. For a standard 1-3/8-inch knob like the Schaub and Company 704-PN traditional round knob, 1-1/4 to 1-3/8 inches diagonal from the top corner (bottom corner on lowers) is the industry default in 2026.
Measure once on your best door. Mark it in pencil, not pen — pencil erases if you're off by a sixteenth.
Common mistake: measuring from the edge of the door instead of the true corner. That 1/8-inch difference multiplies across 15 doors into a visibly crooked run.
2. Build your cardboard story stick
This is the jig substitute. Punch a hole through your cardboard at the exact mark from Step 1, then trim the cardboard corner to match your door corner exactly.
Now you have a reusable template that costs nothing and fits your specific knob and door style — something a generic jig can't do. Flip it for opposite-hinged doors.
3. Transfer the mark to every door and drawer
Hold the story stick's corner flush against each door's corner, and mark through the punched hole with a pencil. Work through the whole run before you drill a single hole — this catches any door with a warped edge before it's too late.
Drawers get measured differently than doors: centered left-right, and typically 1 inch up from the bottom rail. Keep two story sticks if you're doing both.
4. Set the pilot point with a center punch
Press the center punch or awl into each pencil mark to create a small dent. This keeps your drill bit from wandering across the wood grain — the single biggest reason DIY knob holes end up off-center.
Do this on all doors before drilling. It's a five-second step per door, and it's the difference between a straight bit path and a drifted one.
5. Drill the pilot hole
Use painter's tape on the back of the door to prevent splintering where the bit exits. Drill straight through at 90 degrees — a tilted drill produces a knob that sits crooked even with a perfect mark.
Match your bit to the screw: 3/16 inch fits the vast majority of knob screws sold in 2026, but confirm against your specific hardware's screw length before committing to a bit size on 20 doors.
Expected outcome: a clean, splinter-free hole on both faces of the door.
6. Test-fit one knob before drilling the rest
Install the knob on your first door and check it by eye from three feet back, then from across the room. This is the checkpoint that catches a bad story stick before it ruins a whole kitchen's worth of doors.
If it looks right, keep drilling. If it's off, fix the story stick now — not after door number eight.
7. Drill the remaining doors and drawers
Work in batches of five, checking every third door against your test-fit knob. Consistency drifts more than people expect once repetition sets in and attention wanders.
8. Install every knob and do a final walk-by
Tighten each screw snug, not wrenched — overtightening cracks the backer wood on thinner cabinet doors. Step back and view the full run in daylight, not just under a single kitchen light.
Troubleshooting
- Knob sits off-center: the story stick corner wasn't flush against the door corner during marking. Redo the mark, don't try to eyeball a fix.
- Screw doesn't reach the backer: thicker doors (3/4 inch plus original hardware backing) sometimes need a longer screw than what ships with the knob — check screw length before you drill 20 holes with the wrong bit.
- Knob wobbles after install: the pilot hole is oversized for the screw. Redrill at 3/16 inch instead of guessing with a larger bit.
- Wood splits at the hole edge: happens on thin overlay doors drilled too close to the edge — keep the minimum 1-1/4-inch corner clearance from Step 1.
- Drawers and doors don't align visually: drawer placement uses a different reference point than door placement — don't reuse one story stick for both without adjusting.
- Drift across a long run: re-check against the test-fit knob every third door, not just at the start and end.


Tools and Resources
A cardboard story stick handles most single-kitchen jobs without a jig. Past 20 doors, or if you're doing repeat installs across multiple units, a real cabinet hardware jig pays for itself in time saved.
Keep your pilot bit matched to the screw diameter every time — guessing on bit size is the fastest way to a wobbly knob in any year, 2026 included.
What to Do Next
Once doors are done, drawer fronts are a different measurement problem entirely — centered placement instead of corner placement changes the whole story-stick geometry. The drawer knob installation process covers that shift step by step.
FAQ
Can you install cabinet knobs without a jig?
Yes — a cardboard story stick with one punched hole works as a reusable template for kitchens under 20 doors in 2026. Past that count, a purchased jig saves more time than it costs.
What is the standard placement for a cabinet knob?
Most knobs sit 1-1/4 to 1-3/8 inches diagonally in from the top corner of upper doors, and the bottom corner of lower doors. Drawers use a centered placement instead of a corner measurement.
What drill bit size do I need for cabinet knobs?
A 3/16-inch bit fits the screw on most knobs sold in 2026. Confirm against your specific screw diameter before drilling more than a few doors.
Do I need a center punch to install knobs?
A center punch or awl isn't required, but it stops the drill bit from wandering off the pencil mark. Skipping it is the most common reason DIY knob holes end up off-center.
How do I keep knob placement consistent across a whole kitchen?
Build one cardboard story stick from your first correctly-placed hole and use it to mark every remaining door before drilling any of them. Checking every third door against a test-fit knob catches drift before it spreads.
Is a jig better than a story stick for knob installation?
A jig is faster for large jobs past roughly 20 doors, but a cardboard story stick costs nothing and works just as accurately for a single kitchen. Choose based on door count, not preference.
What screw length do I need for thicker cabinet doors?
Standard knob screws fit 3/4-inch doors, but doors with added backer material or double panels often need a longer screw. Check the screw length before drilling the full run.
Can the same story stick work for doors and drawers?
No — doors use a corner reference point and drawers use a centered measurement, so they need separate story sticks. Reusing one template for both produces mismatched placement.
One Last Thing
The test-fit step in Step 6 is the one homeowners skip most, and it's the one that saves an entire kitchen's worth of doors. One five-minute pause before drilling door two is cheaper than filling and redrilling twelve holes after the fact.