

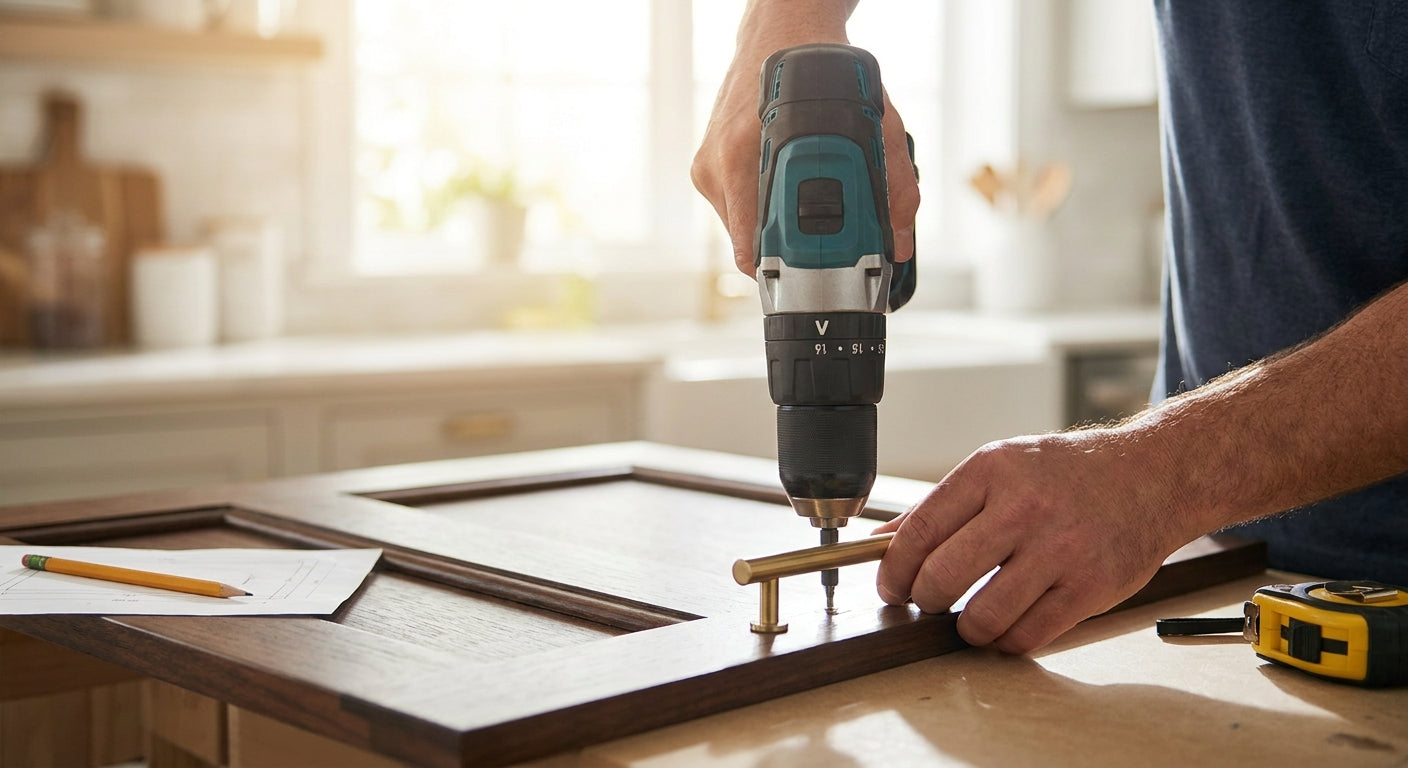
Inset cabinet doors sit flush inside the face frame with zero overlay, so there's nothing to hide a hole that's a sixteenth of an inch off. Get the pull placement right and the reveal stays even all the way around; get it wrong and the mistake is staring back at you every time the kitchen light hits the door.
- Install cabinet pulls on inset doors by centering on the stile with under 1/16 inch of tolerance — anything more shows.
- Pulls over 5 inches crowd narrow 2 to 2.25 inch inset stiles; the Jeffrey Alexander Griffin 160mm bar pull clears them cleanly. Buy.
- Dry-fit before drilling final holes — inset doors punish a redo far more than overlay doors do.
- Check door swing clearance with the pull attached before you commit to the hole pattern.
Why this matters
Overlay doors forgive a lot. The door covers part of the face frame, so a slightly off-center pull disappears into the visual noise of the reveal. Inset doors don't offer that cover — the door sits inside the frame opening, flush with the stiles and rails, and every gap around it is identical on all four sides.
That means hole placement on an inset door has to be dead accurate before you drill, not fixed after. Miss the centerline on a stile that's only 2 to 2.25 inches wide and the pull looks crooked from across the room. Getting the hole spacing right the first time is worth reading through before you touch a drill, and it's covered in more depth in how to measure cabinet pull hole spacing.
Contractors running 2026 remodels on inset kitchens treat this step differently than a standard overlay job — slower, more marking, more dry-fitting. Homeowners doing a single vanity or built-in should follow the same discipline even on a two-door job.
What you'll need
- Tape measure and a sharp pencil
- Painter's tape (marks cleanly without lifting finish)
- Center punch or awl
- Drill with a 5/32 inch bit for standard 8-32 pull screws (confirm against your specific pull's screw size)
- A mounting template or story stick for repeat spacing
- The pulls themselves — measured against your stile width before you buy
- Driver or drill/driver set to low torque
- A level or straightedge for multi-door runs
The steps
1. Measure your stile width and set the centerline
Inset stiles run narrower than most overlay face frames, often 2 to 2.25 inches. Measure the actual stile on the door you're drilling, not a spec sheet number — cabinet runs vary by a sixteenth of an inch door to door even on the same job. Mark the vertical centerline in pencil before anything else.
Common mistake: measuring the door panel width instead of the visible stile once the door is hung inset. They're not the same number.
2. Pick a pull length that leaves clearance on both sides
A pull over 5 inches on a 2.25 inch stile leaves almost no margin and can crowd the frame edge. Shorter bar pulls and cup pulls in the 3 to 5 inch range fit inset stiles without visually overwhelming the narrow rail. The Jeffrey Alexander Griffin 160mm bar pull is sized well for standard inset stiles and mounts on a 160mm hole spacing that most templates already support.
3. Mark placement with a template or story stick
Standard placement puts the pull center 2 3/8 inches down from the top rail on upper cabinets, and roughly the same distance up from the bottom rail on base cabinets — but confirm against your own door height before committing. A template locks in repeat spacing across a full kitchen run so every door matches. Free-handing this on more than two doors is how mismatched runs happen.
Common mistake: eyeballing placement door to door instead of using one fixed reference for the whole run.
4. Drill pilot holes at the correct depth
Use a bit sized to the screw, not the bolt shank, and set a depth stop if your door stock is thin. Inset doors are sometimes built from thinner material than overlay doors to keep reveals consistent, and a through-drill that punches out the face of a 3/4 inch door ruins the finish side instantly.
5. Dry-fit the pull before final mounting
Thread the pull on loosely and step back. Check the reveal on all four sides of the door with the pull in place — not just centered on the stile, but visually balanced against the whole opening. This is the step that catches a bad measurement before it's permanent.
6. Drive the mounting screws and check torque
Snug the screws until the pull sits flush with no wobble, but don't overtighten into thin door stock — stripped screw holes in a 3/4 inch inset door are harder to fix cleanly than on a thicker overlay door. Hand-tighten with a driver on low torque rather than a full-speed drill.
7. Swing-test the door with the pull attached
Open and close the door fully with the pull mounted. Inset doors have tighter tolerances against the face frame, and a pull that projects too far can catch the frame edge on the swing, especially on a door with a partial-inset or full-inset hinge configuration.


Troubleshooting
- Hole too close to the stile edge splits the wood. Stay at least 3/8 inch from any edge on inset doors — the margin for error is smaller than on wider overlay stiles.
- Pull catches the face frame when the door opens. Measure the pull's projection off the door face and compare it against your reveal gap before final mounting, not after.
- Hardware doesn't line up across multiple doors. This means the template shifted or wasn't used consistently — remeasure from a single fixed reference point, not door to door.
- Screws strip in thin inset door stock. Switch to hand-tightening with a driver instead of a drill, and consider a slightly shorter screw if the bolt is bottoming out.
- Pull sits slightly crooked despite a centered hole. Check that the door itself is square in the frame first — inset doors that have shifted on their hinges will make a correctly centered pull look off.
- Finish gets scratched during drilling. Painter's tape over the mark point before drilling catches most bit walk and protects the surrounding finish.
Tools and resources
A dedicated jig removes most of the guesswork on repeat spacing across a full kitchen. Read how to use a cabinet hardware jig for perfect placement before starting a run of more than three doors — it pays for the time it takes to read in the first two doors you drill.
Keep a spare bit set on hand in the sizes your pulls actually call for; mismatched bits are a common cause of loose-fitting screws on inset doors specifically, since the tolerance for play is tighter than on overlay hardware.
What to do next
Inset doors installed in 2026 kitchens are frequently paired with different hinge hardware than overlay doors — full-inset and partial-inset configurations change how much clearance the pull needs against the frame. If your project also involves swapping hinges, confirm hinge type before finalizing pull placement, since hinge offset can shift how the door sits relative to the frame edge.
FAQ
How do you install cabinet pulls on inset doors without splitting the wood?
Keep pilot holes at least 3/8 inch from any stile edge and use a bit sized to the screw, not the bolt shank. Inset stiles run narrower than overlay face frames, so the margin for error is smaller and edge splits happen faster if you drill too close.
What size pull works best on inset cabinet doors?
Pulls between 3 and 5 inches fit standard 2 to 2.25 inch inset stiles without crowding the frame edge. Anything longer leaves almost no clearance margin on either side.
Is pull placement different on inset doors versus overlay doors?
Yes — inset doors have zero overlay to hide a mis-centered hole, so placement has to be accurate before drilling rather than fixed afterward. Overlay doors forgive small placement errors; inset doors don't.
How far from the top rail should a cabinet pull sit?
Standard placement is about 2 3/8 inches down from the top rail on upper cabinets, with the same distance up from the bottom rail on base cabinets. Confirm against your specific door height before drilling, since inset door dimensions vary by job.
Do inset cabinet doors need a special drill bit?
Most standard 8-32 pull screws mount with a 5/32 inch bit, the same as overlay hardware. The difference on inset doors is depth control, since thinner door stock can punch through if you drill too deep.
Can you use a jig for inset cabinet pull installation?
A mounting jig or template is recommended for any run of more than two or three inset doors. It locks in one fixed reference point so every door matches, which matters more on inset doors than overlay doors.
What causes a cabinet pull to look crooked on an inset door?
Usually the door itself has shifted slightly in the frame, not the hole placement. Check that the door hangs square before assuming the drilled holes are off-center.
How much clearance does a cabinet pull need from the face frame?
The pull's projection off the door face needs to clear the frame edge through the full swing of the door, which varies by hinge type. Dry-fit and swing-test before final mounting to confirm clearance on your specific door.
One last thing
The detail most people skip: check your screw length against actual door thickness before you drill, not after. Inset doors are sometimes built from stock thinner than the 3/4 inch standard on overlay doors specifically to keep reveals even, and a screw sized for a thicker door will bottom out or, worse, punch through the finished face. A five-minute check against a scrap piece saves a redone hole on a door you can't easily swap out mid-run.