

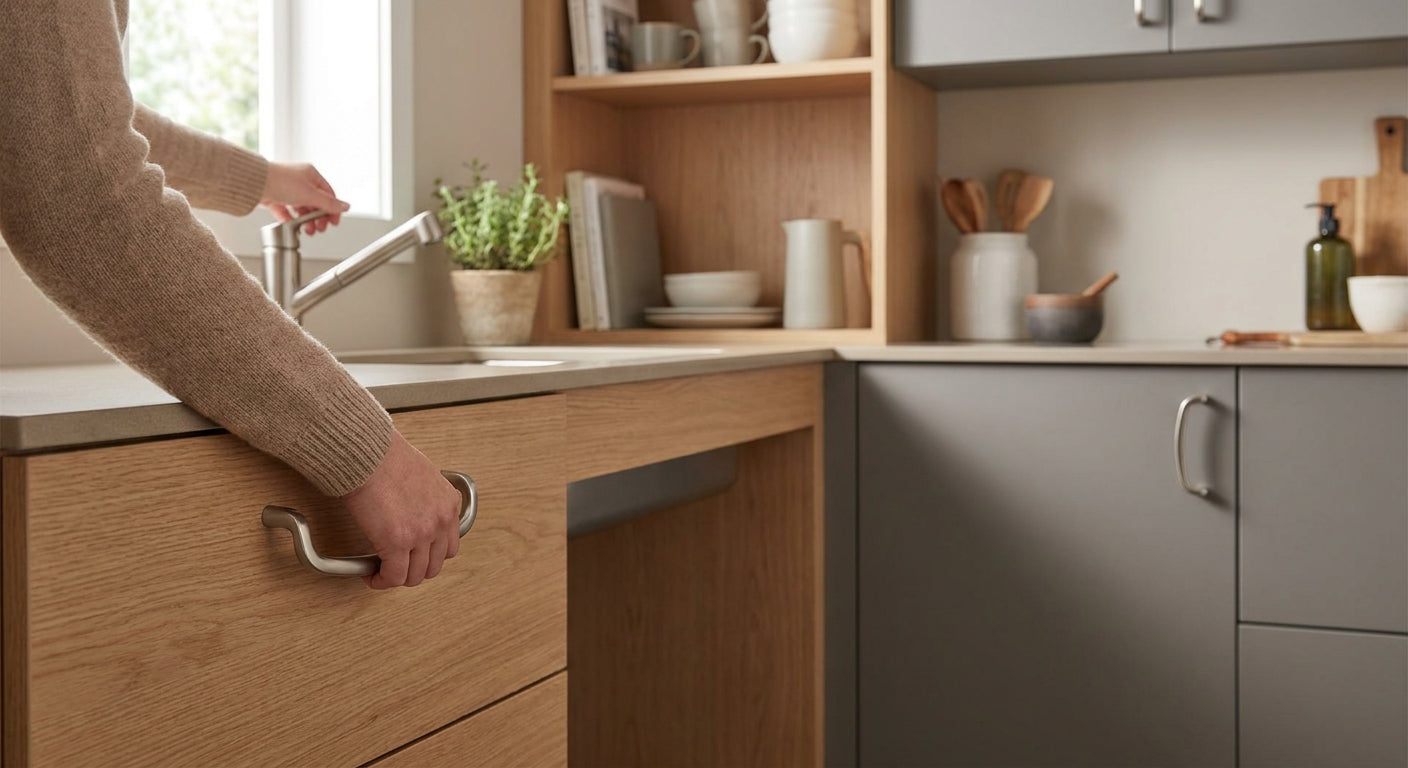
Planning cabinet hardware for an ADA-compliant kitchen means choosing pulls over knobs, setting mounting heights inside a defined reach zone, and confirming that every piece can be operated with a closed fist and under 5 pounds of force.
TL;DR
ADA compliant cabinet hardware in 2026 comes down to three rules: skip round knobs, mount hardware inside the 15" to 48" reach zone, and pick pulls that open with one hand and no twisting. The Top Knobs Amwell Bar Pull (8-13") is a solid Buy for this project — a straight bar profile at a length long enough to grip with a closed hand or a fist, no pinching required. Get the reach heights measured before you order a single piece, because reordering hardware after installation costs more than getting it right the first time.
Why this matters
ADA compliance for cabinets isn't cosmetic — it's about who can actually open a drawer. Section 309 of the 2010 ADA Standards for Accessible Design requires operable parts to work with one hand, without tight grasping, pinching, or twisting of the wrist, and with no more than 5 lbf of force. A round knob fails that test outright because opening it requires a pinch grip between thumb and fingers. This is also why so many products marketed loosely as "accessible hardware" don't actually meet the standard — the shape matters more than the marketing label.
If you're outfitting a kitchen for aging-in-place, a rental unit under fair housing requirements, or a commercial space that needs to pass inspection in 2026, hardware choice is one of the cheaper line items to get right and one of the most expensive to get wrong after cabinets are hung. Grab bars near a sink or tub fall under the same reach logic — see ADA grab bars for accessible bathrooms for the bathroom side of this project.
What you'll need
- A tape measure and a level
- The finished floor height and counter height for every run of cabinets
- A copy of the reach-range table (forward reach: 15" to 48"; side reach: 15" to 48" per the 2010 Standards)
- Bar or D-style pulls in your chosen finish — not knobs
- A drilling jig for consistent hole spacing across every door and drawer
- Samples of at least two pull lengths before you commit to a bulk order
The steps
1. Confirm reach ranges before you order anything
Measure every cabinet run against the 15" to 48" reach zone before hardware ever gets specified. Anything mounted above 48" or below 15" fails the standard regardless of how good the pull looks. Upper cabinets are the usual trap — designers push hardware toward the top rail for aesthetics, and that's exactly where it drifts out of range.
Common mistake: measuring from the countertop instead of the finished floor. ADA reach ranges are always floor-referenced, not counter-referenced.
2. Choose pull style over knobs
A bar pull, D-pull, or wire pull lets a closed fist push or pull the door — no pinch grip needed. Knobs almost never pass Section 309 because the hand has to close around a small round target, which is a pinching motion by definition. This is the single highest-impact decision in the whole project.
Common mistake: substituting a small oval knob for a round one and assuming it's "basically a pull." It isn't — if two fingers have to close on it, it fails.
3. Set the mounting height and the forward reach zone
Mark every pull location before drilling, cabinet by cabinet, using the same reference line. Base cabinets typically land pulls between 28" and 34" from the floor; wall cabinets need the bottom edge of the door hardware at or below 48". Consistency across the run matters as much as the number itself — mismatched heights read as sloppy even when each one individually passes.
Common mistake: using stock manufacturer templates without checking them against your actual floor-to-counter height, especially in kitchens with a raised toe-kick or non-standard cabinet box height.
4. Pick a length and finish that clears the force requirement
Longer bar pulls generally require less wrist rotation to operate than short pulls or handles, which keeps the operating force closer to the low end of the 5 lbf ceiling. An 8-13" pull like the Top Knobs Amwell Bar Pull gives enough surface area for a full-hand grip, which matters more for compliance than finish or style. Finish is a design call at that point — brushed nickel, honey bronze, matte black — pick what fits the kitchen.
Common mistake: choosing a short 3" pull because it's the standard size, then finding it barely qualifies as a one-hand grip for users with limited dexterity.
5. Order samples before you commit to bulk
Get two or three pull lengths in hand and test them yourself with a closed fist, no fingertips. If you can operate every sample without pinching, twisting your wrist, or applying meaningful force, you've found your hardware. This step catches problems a spec sheet can't — some "bar" pulls have a lip or ridge that forces a pinch grip anyway.
Common mistake: approving hardware from a photo or a manufacturer's compliance claim without physically testing it.
6. Install with identical hole spacing across every cabinet
Use a drilling jig set to one center-to-center measurement for the entire kitchen. Confirm spacing against the guide on how to measure cabinet pull hole spacing before the first hole gets drilled — a jig error on cabinet one repeats across all thirty doors if nobody catches it early.
Common mistake: drilling the first few cabinets by hand "to save time," then discovering the spacing is off by an eighth-inch once the jig comes out for the rest.
7. Verify clearance and force after installation
Walk the finished kitchen with a fist test on every pull, plus a check for knee and toe clearance at any base cabinet that needs to serve as a clear-floor-space location. A pull that tested fine on the bench can bind after the door is hung if the hinge alignment is off, which raises the operating force above the 5 lbf ceiling even though the hardware itself is correct.
Common mistake: skipping the walkthrough because the hardware "already passed" during sample testing — installation tolerances change the outcome.
Troubleshooting
| Problem | Fix |
|---|---|
| Pulls sit above the 48" reach line on wall cabinets | Lower the mounting position or drop the cabinet run height during planning, not after install |
| Bar pull still requires a pinch grip | Check for a raised lip or narrow bar diameter — swap for a wider profile |
| Force required feels high after install | Check hinge alignment and door weight before blaming the pull itself |
| Appliance pulls too short for a one-hand grip | Move up to an 18" or 24" appliance pull length rather than the stock 12" |
| Mixed mounting heights across a run | Re-mark every cabinet from the same floor reference line, not from the adjacent cabinet |
| Knee clearance blocked at a sink base cabinet | Confirm the clear floor space requirement before choosing cabinet depth, not after |
Tools and resources
- How to choose the right cabinet knob size for sizing logic that applies even when you're specifying pulls instead of knobs
- The 2010 ADA Standards for Accessible Design, Sections 308 and 309, for the exact reach-range and operable-parts language
- A drilling jig, sample pulls in two lengths, and a tape measure referenced from finished floor height
What to do next
Once hardware is specified and samples are approved, move to install day with a consistent jig setup and a full walkthrough before calling the project done. Skipping the walkthrough is the most common reason a kitchen fails inspection after everything looked fine on paper in 2026.
FAQ
What makes cabinet hardware ADA compliant? Hardware qualifies when it can be operated with one hand, without tight grasping, pinching, or twisting of the wrist, and with no more than 5 lbf of force — this is Section 309 of the 2010 ADA Standards for Accessible Design.
Are knobs allowed under ADA guidelines? Round knobs almost always fail because opening one requires a pinch grip. Bar pulls, D-pulls, and wire pulls are the standard substitute.
What is the ADA reach range for kitchen cabinets? Forward and side reach both run from 15" minimum to 48" maximum, measured from the finished floor, not the countertop.
Do bar pulls meet ADA requirements? Most do, provided the profile allows a full closed-fist grip without a lip or narrow section that forces pinching. Test samples before bulk ordering.
How much force can ADA-compliant hardware require to operate? No more than 5 lbf. Hinge alignment and door weight affect this after installation even when the pull itself tests fine on the bench.
Is ADA compliance required for a home kitchen remodel in 2026? ADA applies directly to public and commercial spaces; residential projects often follow the same standard voluntarily for aging-in-place or under local fair housing rules — check your jurisdiction's current requirements before finalizing plans.
What's the best pull length for an ADA kitchen? An 8" to 13" bar pull gives enough surface for a full-hand grip on base cabinets; appliance pulls should run 18" to 24" for the same reason.
How much does ADA-compliant cabinet hardware cost compared to standard hardware? Bar and D-pulls are priced the same as decorative pulls in most finishes — compliance is a shape and mounting decision, not a price tier.
One last thing
Most hardware labeled "ADA-friendly" in product listings hasn't been tested against the force requirement at all — it's a shape assumption, not a certification. Test every sample with a closed fist before you place a bulk order, because a bar pull with a hidden lip can still force a pinch grip even though it looks compliant on a shelf.