

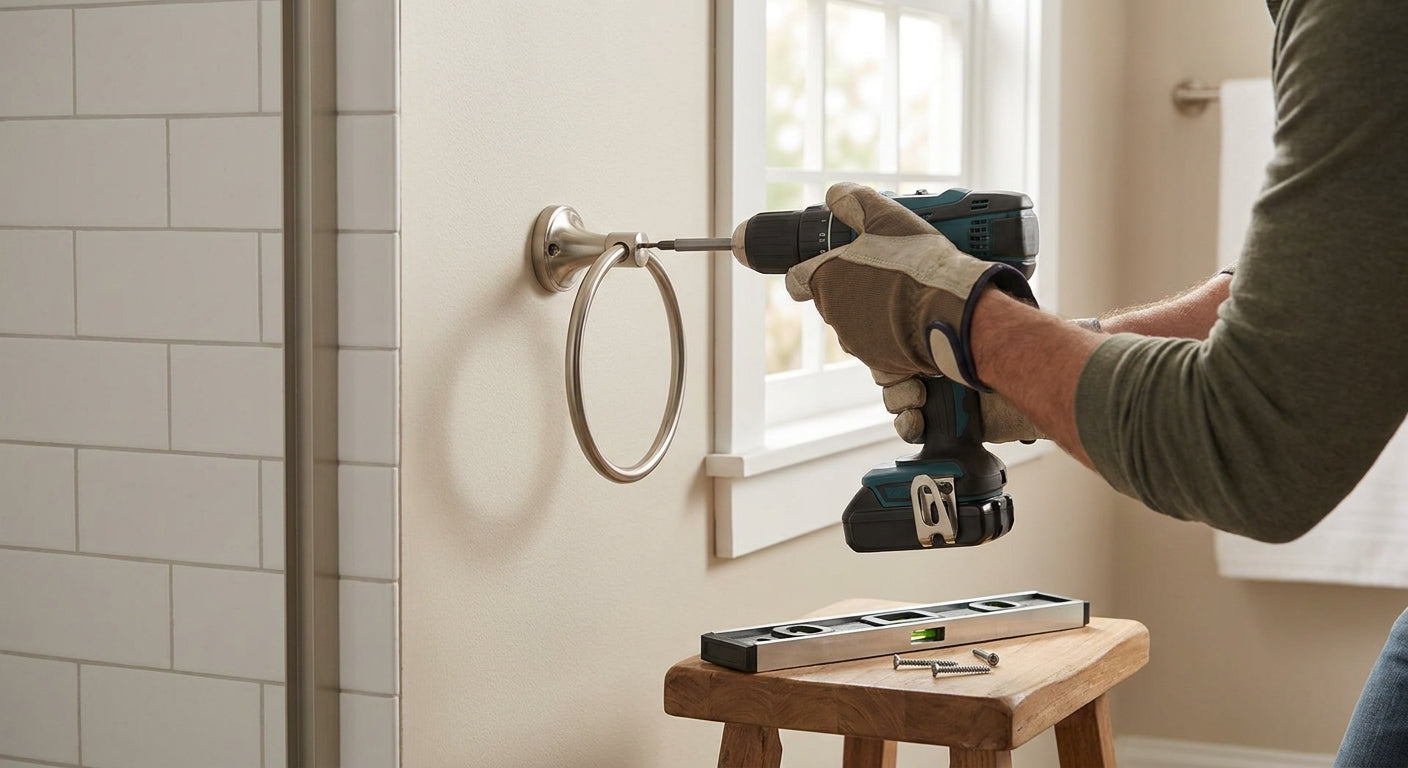
Installing a towel ring the right way takes about 20 minutes, one stud finder, and a level — skip any of the three and you'll be patching drywall holes by next weekend.
- How to install towel rings starts with anchoring into a stud or using a toggle bolt rated for at least 25-35 lbs.
- Mount rings 48-52 inches from the floor, centered 8-10 inches from the sink edge — verdict: measure twice, drill once.
- A drywall-only screw install without anchors fails within months under daily towel-pull weight.
- The Alno A7599 Arch Bath robe hook uses the same wall-anchoring logic if you're mixing hardware on one wall.
- Budget 2026 pricing for a basic ring install: under $15 in hardware if you already own a drill.
Why this matters
A towel ring isn't decorative until it's load-bearing. Every time someone yanks a damp towel off the ring, that pull transfers straight into whatever is holding the mounting plate to the wall.
Drywall alone has almost no shear strength. A single drywall anchor rated for 20-25 lbs sounds fine on paper, but the repeated tug-and-release of daily towel use loosens anchors faster than a static load ever would. That's why so many towel rings end up hanging by one screw within a year — the install skipped the stud or used the wrong anchor.
Get this right once in 2026 and you won't touch it again until you remodel the towel rings for bathroom vanities layout entirely.
What you'll need
- Stud finder (electronic, not magnetic — tile and plaster confuse magnetic ones)
- 4-foot level or a smartphone level app
- Cordless drill with a 1/8" pilot bit and a Phillips bit
- Pencil and painter's tape
- Toggle bolts or self-drilling drywall anchors rated 25+ lbs if you're missing a stud
- The towel ring itself, plus its mounting screws (most ship with two)
- A tape measure
If you're installing a full hardware set — ring, bar, and hook — grab a coordinating robe hook now. The Alno Arch Bath universal robe hook uses the identical two-screw mounting logic covered below, so you can knock both out in one session.
The steps
1. Find your mounting point
Run the stud finder in a slow, level sweep starting 12 inches to either side of where you want the ring. Studs sit on 16-inch centers in most homes built after the 1960s, so once you find one edge, the next should be roughly 16 inches over.
Mark both edges of the stud with painter's tape, not pencil directly on paint — pencil marks near tile grout are a pain to fully erase later. Expected outcome: a 1.5-inch-wide stud zone marked clearly enough that you won't second-guess it mid-drill.
Common mistake: relying on a magnetic stud finder near a mirror or metal-backed medicine cabinet. The magnet reacts to the cabinet frame, not the stud, and you'll drill into open cavity.
2. Set your height and position
Measure up from the finished floor to 48-52 inches for the ring's center point — that range matches standard vanity mirror heights and keeps the ring accessible without crowding the mirror below it. For an ADA-influenced layout, hold to 48 inches exactly.
Center the ring 8 to 10 inches from the front edge of the sink so a wet hand can reach it without dripping across the counter. Mark the center point with your level held dead flat — a ring hung even 3 degrees off is visible from across the room.
3. Drill the pilot hole
If your mark lands inside the taped stud zone, drill a pilot hole 1/8 inch narrower than the mounting screw's shank, about 3/4 inch deep. This keeps the screw threads biting wood instead of splitting it.
If the mark misses the stud entirely, stop here and switch to a toggle bolt rated for at least 25 lbs — most quality metal rings weigh under a pound, but the dynamic pull force from towel use regularly exceeds the static rating printed on cheap plastic anchors.
Common mistake: drilling full-size holes for a toggle bolt without folding the wings first — check the bolt's packaging for the correct bit size, usually 1/2 inch.
4. Mount the backplate
Hold the ring's backplate against the wall, aligned to your pilot hole, and drive the first screw about 80% of the way home. Recheck level before fully seating it — this is the last chance to adjust before the second screw locks the angle in place.
Drive the second screw fully, then snug the first one down. Expected outcome: a backplate flush to the wall with zero rock when you push on either side.
5. Attach the ring and test the load
Most rings either thread onto a center post or snap into the backplate with a set screw underneath — check your specific hardware before assuming. Once attached, hang a fully soaked bath towel on it and pull down firmly for 10 seconds.
If the backplate shifts even slightly, you're in drywall without an anchor, and you need to back out and switch to a toggle bolt now, not after the first houseguest complains in three months. Skip any install that flexes under this test — redo it before moving on.
6. Caulk the gap if you're near tile
If the ring sits within an inch of a tile edge, run a thin bead of clear silicone caulk around the backplate's perimeter. This isn't structural — it stops water from wicking behind the plate and softening drywall over the following winter.
Troubleshooting
- Ring wobbles side to side after install — the set screw under the ring itself is loose, not the wall mount. Check for a small hex or Phillips screw on the underside of the ring collar.
- Stud finder gives a false positive — plumbing pipes and electrical runs read similarly to studs on cheaper models. Drill a small test hole first; if you hit resistance at an inch and it's not solid wood, stop.
- Drywall anchor spins freely and won't grip — the hole is oversized. Remove it, plug the hole with a golf tee and wood glue, let it cure 24 hours, then redrill smaller.
- Ring is level but looks crooked next to an existing towel bar — measure both fixtures from the floor, not from each other. Floors and cabinets are rarely perfectly level across a run.
- Screws strip out on the final turn — you're overtightening into softwood or old drywall. Back out, apply a dab of wood glue in the hole, reinsert the screw once the glue tacks up.
- Toggle bolt wings won't fold flat enough for the hole — you bought the wrong size. Match the wingspan to the hole diameter listed on the bolt's packaging, not by eye.


Tools and resources
- Electronic stud finder (not magnetic)
- Cordless drill, 1/8" pilot bit
- Level and tape measure
- Toggle bolts rated 25+ lbs for non-stud mounts
- A cabinet hardware jig works just as well for marking symmetrical hole spacing on a two-hole ring backplate as it does on cabinet pulls — the templating logic is identical
What to do next
Once the ring is solid, most bathrooms need a matching piece nearby — a robe hook on the back of the door or a second point near the shower. Read the full breakdown on robe hooks for bathroom walls and doors before you buy a second fixture, since hook mounting height and ring height rarely match.
FAQ
How do you install towel rings without hitting a stud?
Use a toggle bolt rated for at least 25 lbs and drill the hole size printed on the bolt packaging, usually 1/2 inch. Drywall-only anchors under 20 lbs fail within months under repeated towel-pull force.
What height should a towel ring be mounted at?
Mount towel rings 48 to 52 inches from the finished floor, centered 8 to 10 inches from the sink edge. For ADA-consistent bathrooms, hold to exactly 48 inches.
Do towel rings need to go into a stud?
A stud mount is stronger, but a properly rated toggle bolt handles daily towel use fine when no stud is available. Skip standard plastic drywall anchors rated under 25 lbs.
How long does it take to install a towel ring?
A single-stud install takes about 20 minutes including stud-finding and load testing. A non-stud toggle bolt install adds 5-10 minutes for the larger hole and anchor prep.
Can one person install a towel ring alone?
Yes, a level and a pencil mark are enough for one person to install a towel ring accurately. Two-hole backplates are more forgiving solo than single-post designs, which shift slightly while you drive the second screw.
What's the difference between a towel ring and a towel bar for mounting?
Both use the same two-screw or stud-anchor logic, but a ring's shorter backplate concentrates load into a smaller area, so anchor strength matters more per square inch. A 24-inch bar spreads the same towel-pull force across two farther-apart mounting points.
Why does my towel ring keep loosening?
A loosening ring almost always means the backplate is anchored in drywall alone, without hitting a stud or using a rated toggle bolt. Pull-test any suspect install with a soaked towel for 10 seconds before trusting it long-term.
One last thing
The load test in step 5 catches almost every bad install before it becomes a 2026 repair job — a soaked towel pulled hard for 10 seconds mimics a year of daily use in one motion. Skip that test and you're gambling on drywall doing a job it was never built for.