

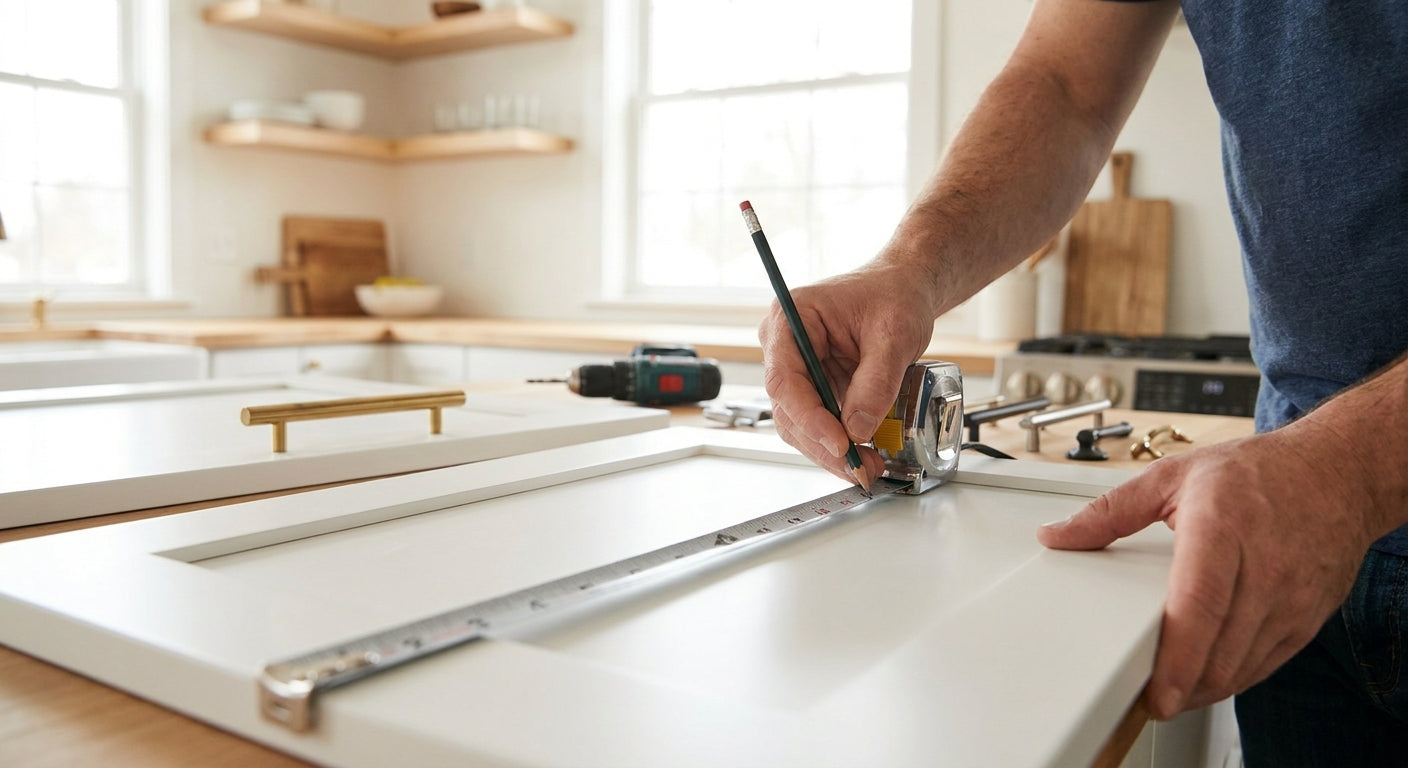
Cabinet pull spacing comes down to one number: the center-to-center (CC) distance stamped on the back of the pull or listed in its spec sheet, and getting it wrong by even a quarter inch means mismatched holes you can't unsee.
- How to measure cabinet pull spacing starts with the CC number printed on the pull's packaging or spec sheet, not a tape-measure guess.
- A 3-inch CC pull needs holes exactly 3 inches apart, center to center, not edge to edge.
- Atlas Homewares A972-MG Tustin pull uses 6.5-inch CC spacing — verify it against your existing holes before ordering. Buy after confirming.
- Drawer fronts under 24 inches wide typically pair with 3 to 5-inch pulls; wider fronts scale up to 8-plus inches.
- A cheap 6-inch cabinet hardware jig removes almost all human error from the drilling step.
Why this matters
Cabinet pull spacing is the single most common measurement error homeowners and even contractors make when swapping hardware, and it's an expensive one because you can't un-drill a hole. Every pull and handle on the market lists a center-to-center (CC) measurement — the distance from the middle of one mounting screw hole to the middle of the other — and that number has to match your drilling template exactly.
Get a full breakdown of hole positioning conventions in the cabinet pull hole spacing guide if you're working with an odd or vintage backplate. For everything else, the steps below cover the standard measure-mark-drill sequence used across kitchens and bathrooms in 2026.
What you'll need
- Steel tape measure (fabric tapes stretch and throw off small measurements)
- Pencil and painter's tape
- Combination square or a cabinet hardware jig
- Drill with a bit sized to your screw diameter (usually 3/16 inch for standard machine screws)
- The pull itself, so you can confirm the CC number stamped on the packaging
- A scrap piece of wood or cardboard to test-drill before touching the actual cabinet
The steps
1. Find the CC number before you touch a tape measure
Every pull ships with a center-to-center spec — it's on the box, the product page, or stamped into the mounting plate itself. This number, not a visual guess, is what determines hole placement. A pull labeled "6.5-inch CC," like the Atlas Homewares A972-MG Tustin pull, needs its two screw holes exactly 6.5 inches apart, center to center — not 6.5 inches from edge to edge of the pull body. Skipping this step is the number-one cause of drawer fronts with two extra holes nobody wants to talk about.
Common mistake: measuring the outer length of the pull instead of the screw-hole distance. A 7-inch pull can have a 5-inch, 6-inch, or 6.5-inch CC depending on the design.
2. Measure your drawer or door face and mark the vertical center
Measure the width of the drawer front or door, then divide by two to find the horizontal center. Mark that centerline lightly with pencil — this is your reference line for every pull that goes on that piece.
For doors, standard placement in 2026 puts knobs and pulls 2.5 to 3 inches from the corner, measured diagonally or straight up from the bottom corner depending on door swing. For drawers, the pull centers on the vertical midline and sits horizontally per the CC spec.
3. Split the CC distance evenly from the centerline
Once you have your vertical centerline, split the pull's CC measurement in half and mark that distance on either side. A 6.5-inch CC pull gets marked at 3.25 inches left and 3.25 inches right of center — two pencil dots, both at the same height.
Double-check the two marks are level using a combination square before you drill. A pull that's even 1/16 inch off level reads as crooked once it's mounted, especially on light-colored cabinet doors where shadows show every imperfection.
4. Use painter's tape to prevent drill wander
Lay a strip of painter's tape over your marked spot before drilling. Tape gives the drill bit something to bite into instead of skating across a smooth painted or laminate surface, which is the leading cause of scratched finishes during hardware installs.
Expected outcome: a clean entry point with no chipping on the face side, especially important on MDF or thermofoil doors that chip more easily than solid wood.
5. Drill a test hole in scrap material first
Before you commit to the actual cabinet, drill your marked spacing into a scrap board and thread the pull's screws through to confirm fit. This single step catches CC math errors before they become permanent holes.
If the screws don't line up on scrap, the error is in your measuring, not your drilling — recheck the CC number and your centerline math before moving to the real piece.
6. Drill through the face, then the back
Drill from the front face partway through, then finish from the back side to prevent blowout — the ugly splinter exit wound that shows up when a bit pushes all the way through from one direction. This two-sided approach matters most on veneer and thin overlay fronts under 3/4 inch thick.
Common mistake: drilling straight through in one pass on thin cabinet doors, which cracks the face veneer around the exit hole.
7. Mount the pull and check for wobble
Thread the screws in from the back, snug but not overtightened — stripped screw holes in MDF are common when torque runs too high. If the pull rocks side to side after mounting, one hole is oversized or your CC spacing was slightly off; a screw-hole repair plate or slightly larger screw usually fixes it without redrilling.
A cabinet hardware jig removes most of the guesswork in steps 2 through 4 by locking the CC spacing and centering mechanically instead of by hand measurement. Worth the cost if you're doing more than a handful of drawers.
“If you're forcing the screws, the spacing is off — stop and recheck the CC number before you strip the hole.”
When you're shopping for pulls with matching CC spacing across a kitchen, the difference between a 6-inch, 9-inch and 12-inch bar pull is more than aesthetics — it changes which drawers and door widths each size works for.


Troubleshooting
- Screws don't reach the threaded holes on the pull. Your cabinet door is thicker than the screws provided — swap in longer machine screws, sold separately by most hardware brands, matched to your door thickness.
- The pull sits crooked after mounting. One hole was drilled slightly off-center. A screw-hole repair plate covers the old hole so you can redrill correctly.
- Holes are too close together for the new pull's CC spec. You bought a pull with different spacing than your old one. Either fill and refinish the old holes or choose a pull matching the existing CC distance.
- Drill bit wanders when starting the hole. Skipped the painter's tape step, or the surface is glossy laminate. Use a center punch or awl to create a starting dimple first.
- Pull wobbles even though screws are tight. The mounting hole is oversized from a stripped screw or an old, larger hole. A repair plate or slightly thicker screw resolves it in most cases.
Tools and resources
- Steel tape measure and combination square for marking
- A cabinet hardware jig if you're installing more than 6-8 pulls in one project
- Painter's tape to prevent chipping and drill wander
- Correct screw length for your door or drawer thickness — undersized screws are the top cause of loose pulls reported by hardware buyers in 2026
- Scrap wood for test-drilling before committing to the final cabinet face
What to do next
Once your spacing is confirmed and drilled cleanly, the next decision is finish and size consistency across the kitchen or bathroom. Mixing CC spacing between rooms is fine as long as each drawer or door gets a pull sized to its own width — a 3-inch pull on a 12-inch drawer front looks undersized no matter how good the finish is.
FAQ
What is CC spacing on a cabinet pull?
CC stands for center-to-center — the distance between the middle of one mounting screw hole and the middle of the other on a cabinet pull. It's the number you match to your drilled holes, not the pull's overall length.
How do I measure cabinet pull spacing without a jig?
Find the CC number on the pull's packaging, mark your drawer's vertical centerline, then measure half the CC distance out from center on each side with a tape measure and combination square. A jig speeds this up but isn't required for a handful of pulls.
What size pull fits a 24-inch cabinet drawer?
Most 24-inch drawer fronts pair with 5 to 6-inch CC pulls in 2026, centered on the drawer's vertical midline. Wider drawers over 30 inches typically move up to 8 or 10-inch pulls for visual balance.
Can I convert cup pulls to bar pulls without redrilling?
Yes, if you choose a bar pull with the same CC spacing as your existing cup pull holes. Matching CC spacing is the only requirement for a drop-in swap without new drilling.
How far from the edge should a cabinet knob be placed?
Cabinet knobs typically sit 2.5 to 3 inches from the corner of the door or drawer, measured diagonally on doors and centered horizontally on drawers. This is a styling convention, not a fixed rule, so it can shift slightly for oversized doors.
Do all cabinet pulls use the same screw length?
No. Screw length depends on the thickness of your cabinet door or drawer front, which varies between 5/8 inch and 3/4 inch on most standard cabinetry. Check the screws included with your pull against your door thickness before installing.
What happens if I drill pull holes at the wrong CC spacing?
The pull won't sit flush and the screws won't reach the mounting holes, or the pull will look visibly off-center. A screw-hole repair plate can cover the mistake so you can redrill at the correct spacing.
One last thing
The cheapest fix for a spacing mistake isn't a new door — it's a screw-hole repair plate, which covers a misdrilled hole cleanly enough that most people never notice it once the new pull is mounted. Keep a few on hand any time you're swapping hardware in 2026; they cost less than a single replacement drawer front and save the redo entirely.