

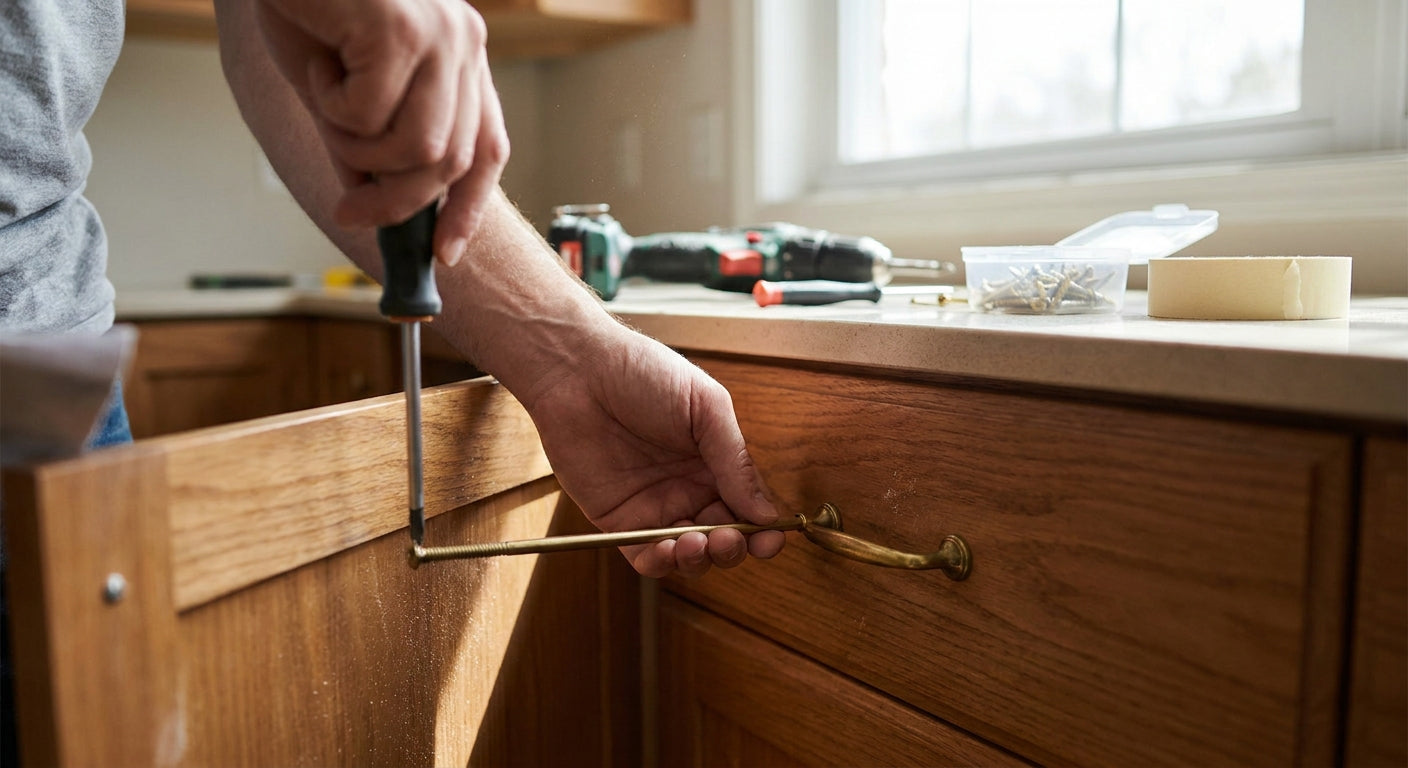
Removing cabinet hardware looks like a five-minute chore until you hit a stripped screw, a hinge buried under three coats of paint, or a knob that's been epoxied in place by a previous owner. This walks through the exact order of operations for pulling knobs, pulls, and hinges off cleanly in 2026 — no cracked veneer, no rounded screw heads, no surprise trip to the hardware aisle mid-project.
- Removing cabinet hardware on a standard 30-door kitchen takes 20-40 minutes in 2026 with just a screwdriver and a drill.
- Stripped screws cause most delays — a rubber band or screw extractor bit fixes 90% of them in under two minutes.
- Back out hinge cam screws before pulling mounting plates or you risk cracking the plate itself.
- Filling old holes before redrilling matters if new hole spacing shifts by more than 1/2 inch.
Why this matters
Most damage during a hardware swap doesn't come from bad tools — it comes from skipping steps. Force a stripped screw and you tear the wood around the hole. Yank a hinge before releasing its cam adjustment and you crack the mounting plate. Either mistake turns a $15 knob swap into a cabinet door repair.
Getting removal right also sets up your next install. If you're planning to add cabinet knobs in a new finish or swap to bar pulls, clean holes and intact wood around them mean the new hardware seats flush the first time. Knobs.co sees this question constantly from both homeowners and contractors ordering replacement cabinet hardware — the removal step decides how smooth the install goes.
What you'll need
- Phillips and flathead screwdrivers (magnetic tip helps in tight cabinet interiors)
- A cordless drill with a #2 Phillips bit for stubborn or long screws
- A rubber band, wide rubber grip, or pliers for stripped screw heads
- A screw extractor bit set for screws that won't budge with a rubber band
- Painter's tape to protect the cabinet face around older painted hardware
- A small container or labeled bags to sort screws by hinge and pull type
- Wood filler and fine sandpaper if you're changing hole positions
The steps
1. Clear the workspace and test every screw first
Open every door and drawer, lay down a towel to catch dropped screws, and lightly turn each screw a quarter-turn before committing to full removal. This tells you in advance which screws are seized from paint, rust, or age — better to know now than mid-pull with a door hanging by one hinge.
Common mistake: skipping the test turn and applying full drill torque immediately, which strips a soft screw head before you even know it's an easy one.
2. Remove knobs and pulls before touching hinges
Knobs and pulls are almost always secured by a single bolt from the inside of the drawer or door. Unscrew counterclockwise, holding the knob steady from the outside so it doesn't spin and mar the finish around it. Set screws and knobs together in a labeled bag if you're reusing them elsewhere.
Common mistake: forcing the knob off before the bolt is fully out, which can crack painted MDF fronts.
3. Take hinges off last, and support the door
Hinges hold weight, so remove them with one hand supporting the door — it will drop the moment the last screw releases. For European-style concealed hinges, loosen the cam adjustment screw on the hinge arm before removing the mounting plate screws; skipping this step is the single most common cause of a cracked plate.
Common mistake: removing all mounting screws at once on a heavy door with no second hand or prop to catch the weight.
4. Handle stripped or painted-over screws
For a stripped Phillips head, press a wide rubber band over the screw before setting the driver — the rubber grips where metal slips. If that fails, switch to a screw extractor bit, which bites into the stripped head as it turns counterclockwise. For screws buried under paint, score around the head with a utility knife first so the driver doesn't skate.
If a screw needs more than ten turns to back out and still won't move, stop forcing it and reach for penetrating oil instead of a bigger driver.
5. Patch and prep the holes
If new hardware uses the same hole spacing, you're done — wipe the area and move to install. If you're switching from a knob to a pull, or shifting positions, fill the old holes with wood filler, let it cure per the product's instructions, sand flush, and re-prime before drilling new holes. Getting hole spacing right the first time saves a second patch job — check measuring cabinet pull hole spacing before you drill anything new.
6. Sort hardware for reuse, donation, or disposal
Matching screws to their hinges or pulls now saves confusion later, especially on a full-kitchen job with 30+ pulls. Working screw sets in good finish can go back into a parts bin; stripped, rusted, or bent screws should be replaced outright rather than reused on new hardware.
Troubleshooting
- Screw spins but won't back out: the head is stripped. Switch to a rubber band trick first, then a screw extractor bit.
- Hinge plate cracked on removal: the cam screw wasn't backed out first. Replace the plate rather than reinstalling a cracked one.
- Paint seals the screw head: score around the head with a utility knife, then apply the driver with steady, even pressure.
- Rusted screw won't move at all: apply penetrating oil, wait 10 minutes, and retry — do not force it, you'll snap the screw flush with the wood.
- Hole spacing doesn't match new hardware: fill and sand the old holes flat before drilling, and confirm your new pull's spacing before ordering — check how to fill and refinish old cabinet hardware holes for the patch process.
- Knob spins with the screw during removal: hold the knob steady by hand from the front while backing out the interior bolt.
Tools and resources
A drill template takes the guesswork out of matching old holes to new hardware, especially when you're changing pull styles across an entire kitchen. These are worth having on hand before you start:


Beyond the physical tools, if the cabinets are getting new hardware in a different finish or size, review how to choose the right screw length before ordering — screw length that's wrong by even 1/4 inch either pokes through a thin drawer front or fails to grip a thick one.
What to do next
Once the old hardware is off and holes are patched or confirmed to match, move straight into installing the new pieces while the surface is clean and dry. Knobs.co's guide to installing cabinet knobs covers hole marking, jig use, and torque — the exact next step after everything old is off the cabinets.
FAQ
How do you remove cabinet hardware without damaging the cabinet?
Test each screw with a light quarter-turn before forcing it, support hinged doors by hand as the last screw comes out, and never yank a stuck knob before its interior bolt is fully removed. Painted-over screws need scoring with a utility knife first to avoid skating the driver across the finish.
What tool removes a stripped cabinet hardware screw?
A rubber band placed over the screw head before applying the driver fixes most stripped screws in 2026 by adding grip where the metal slips. If that fails, a screw extractor bit designed to bite into a stripped head works on nearly all remaining cases.
Do you need to remove hinges before knobs?
No, remove knobs and pulls first since they're lighter and simpler, then take hinges off last while supporting the door's weight. This order avoids handling a heavy, unsupported door any longer than necessary.
How long does it take to remove cabinet hardware from a full kitchen?
A standard kitchen with 30 doors and drawers takes 20 to 40 minutes with a cordless drill and screwdriver in 2026. Stripped or painted-over screws add a few minutes per piece.
Should you fill old cabinet hardware holes before installing new hardware?
Fill and sand old holes only if the new hardware's hole spacing differs from the old spacing by more than 1/2 inch. If spacing matches, the new hardware covers the existing holes with no patching needed.
What's the best way to remove a cam-adjustable European hinge?
Loosen the cam adjustment screw on the hinge arm first, then remove the mounting plate screws while supporting the door. Skipping the cam release is the top cause of cracked hinge plates during removal.
Can you reuse cabinet hardware screws on new hardware?
Reuse screws only if they're in good condition with intact heads and no rust or bending. Stripped, rusted, or bent screws should be replaced with new ones matched to the hardware's screw length.
Is it worth using a drill template when reinstalling cabinet hardware?
Yes, a drill template ensures consistent hole placement across every door and drawer, which matters most on a full-kitchen job with mismatched hole spacing between old and new hardware. It also prevents crooked drilling on a single reused hole.
One last thing
The screws holding factory-installed hinges are usually a hair shorter than the replacement screws sold with aftermarket hardware — measure one before you order 40 of the wrong length. It's a five-second check that saves a return shipment and a delayed install.