

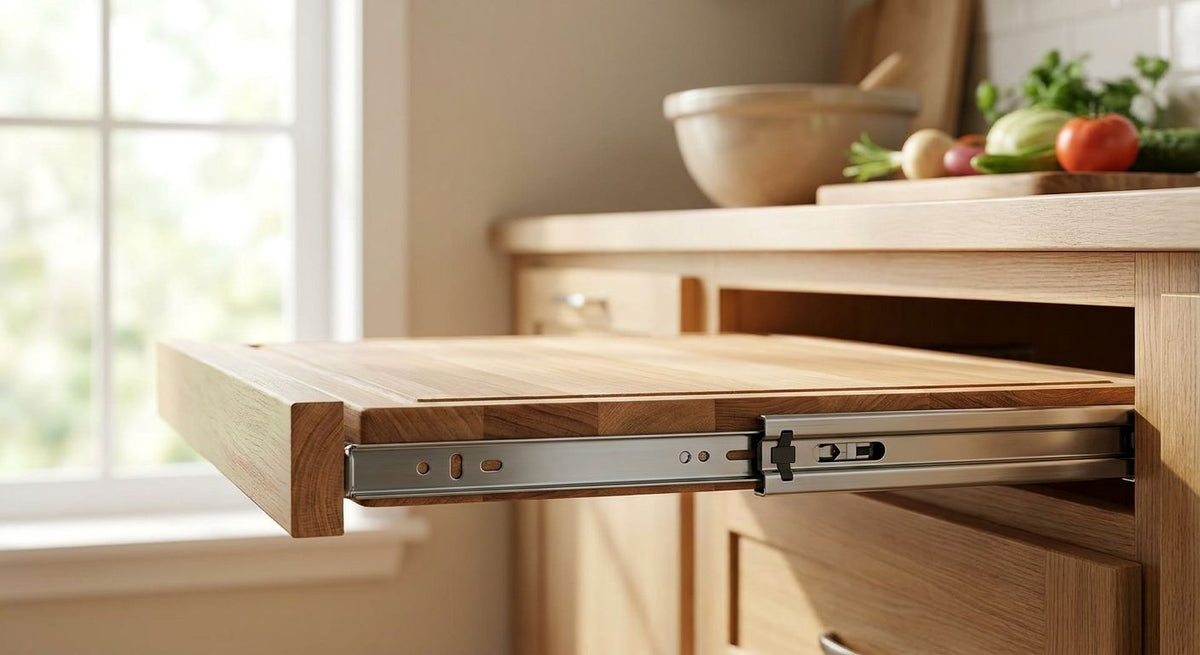
DIY homeowners install pull out cutting board hardware to turn an unused cabinet gap or a shallow drawer into a slide-out prep surface, without paying a cabinetmaker to build one in. The hardware itself is simple — a set of slides, a mounting bracket, and a board — but getting the slide type, load rating, and clearance right is where most first-time installs go sideways.
- Pull out cutting board hardware works because of the slide underneath, not the board on top — a light-duty drawer slide flexes and binds under real kitchen weight.
- Undermount soft-close slides give the cleanest hidden look; bottom-mount side slides are faster and cheaper to retrofit into an existing gap.
- Face-frame and frameless cabinets need different slide hardware — measure before you order, not after.
- A mounting template beats freehand drilling for keeping the board square and free-running once it's installed.
Why pull out cutting board hardware matters for DIY homeowners
A pull-out cutting board only earns its keep if the hardware underneath is doing real work. A board that isn't riding on a properly rated slide will rock, bind partway out, or drop crumbs and knife scraps into the cabinet below every time you use it.
Most of the failure points aren't in the board — they're in installing drawer slides incorrectly the first time: wrong slide type for the cabinet construction, screws driven off-square, or a slide rated for a stack of napkins instead of a loaded board. Get the slide right in 2026 and the board is the easy part.
Measure your cabinet opening
Before you shop for hardware, get exact numbers. A quarter-inch off on width is the difference between a board that glides and one that jams against the cabinet side.
- Measure the interior width at the narrowest point, not the front opening
- Measure depth from the face frame (or cabinet front, if frameless) to the back panel
- Note whether the cabinet is face-frame or frameless — this changes which slide mounts you need
- Check for an existing drawer box you're converting versus an empty gap
- Record every measurement twice before ordering hardware
Pick your slide type
This is the decision that determines everything else. Bottom-mount side slides are the faster, cheaper DIY route for retrofitting into an existing narrow gap. Undermount soft-close drawer slides hide completely under the board for a cleaner look but take more care to align.
- Bottom-mount side slides: visible rails, simplest install, no soft-close unless you upgrade
- Undermount soft-close slides: hidden hardware, quieter close, less forgiving on alignment
- Ball-bearing full-extension slides: let the board pull all the way out to the cabinet's full depth
- Roller slides: cheapest option, fine for light, occasional use only
Confirm the load rating and travel length
A cutting board loaded with produce and a knife puts steady weight on the slide every time it's out. Reusing a light-duty slide pulled from an old drawer is the single most common mistake in this project. Match the best drawer slides for kitchen cabinet drawers to the actual travel distance your cabinet needs — most base cabinets run 21 to 24 inches deep, and the slide's travel should match that depth minus mounting clearance.
- Full-extension slides for boards that need to clear the entire cabinet depth
- Three-quarter extension for gaps where full clearance isn't needed
- Ball-bearing construction over plain roller wheels for anything used daily
- Rated capacity that accounts for the board's weight plus food, not just the empty board
Choose your board material and thickness
Standard drawer slide hardware is built around board thicknesses in the 3/4-inch to 1-inch range. Go thicker — a full butcher-block slab, for example — and most off-the-shelf slides won't clear the cabinet floor without shimming.
- Hardwood (maple, walnut) for a board that also functions as a serving surface
- Poly or composite for a dishwasher-safe, sanitation-first board
- Bamboo for a lighter board that's easier on lower-rated hardware
- Confirm slide clearance before cutting or ordering the board to size
Install the slides square and level
A slide mounted a hair out of square is enough to make the board drag or stick a few inches before it fully closes. This is the step where a mounting jig earns its keep instead of eyeballing hole placement.
- Dry-fit the slide against the cabinet wall before drilling a single hole
- Use a level across both slides, not just one
- Pre-drill pilot holes to avoid splitting cabinet-grade plywood or particleboard
- Check that both slides sit at the identical height, front and back
Mount the board to the slide hardware
Once the slides run smoothly with no board attached, mount the panel itself. Test the empty slide action first — if it binds before the board goes on, the slide is misaligned, not the board.
- Center the board on the slide brackets before driving screws
- Leave a hair of side clearance so wood movement doesn't seize the slide in humid months
- Use screws sized for the board thickness — too long and they punch through the top
- Test full extension and full retraction before calling it finished
Add end stops and edge guards
A board with no end stop can be pulled clean off the slide track — a real risk with kids or a distracted cook mid-prep. This is a five-minute add-on step most DIY guides skip entirely.
- Install a stop block at full extension so the board can't eject
- Add a lip or raised edge on the working end to catch juices and scraps
- Check that the stop doesn't interfere with full retraction when the board is put away


Comparing pull out cutting board hardware options
| Component | Best for | Key limitation |
|---|---|---|
| Undermount soft-close slide | A hidden, flush look under the board | Harder to align than side-mount; needs an undermount-compatible cabinet base |
| Bottom-mount side slide | A fast retrofit into an existing narrow gap | Visible slide rails; no soft-close unless upgraded |
| Rear-mount replacement socket/bracket | Repairing a worn or broken existing pull-out | Fits only the specific slide model it's made for |
| Full-extension ball-bearing slide | Boards that need to clear the full cabinet depth | Needs square, careful installation to avoid binding |
Verdict: for a first DIY install in 2026, a bottom-mount full-extension slide paired with a mounting template is the most forgiving combination — buy the template even if you skip everything else optional.
“A pull-out cutting board is only as good as the slide underneath it — the board is the easy part.”
Common mistakes DIY homeowners make
- Reusing a light-duty slide pulled from an old drawer instead of a full-extension, ball-bearing rated slide — the board binds or sags under the weight of food and a knife.
- Skipping the mounting template and drilling by eye — a fraction of an inch off on two slides is enough to make the board bind partway out.
- Not checking face-frame clearance first — face-frame and frameless cabinets take different slide mounts, and a return trip eats the time the DIY route was supposed to save.
- Ordering a board too thick for the slide — a full-thickness butcher block on hardware built for a 3/4-inch panel drags on the cabinet floor.
- Forgetting the end stop — without one, the board can be pulled completely off the track.
FAQ
What is pull out cutting board hardware?
It's the slide, bracket, and mounting hardware that lets a cutting board glide in and out of a cabinet gap or converted drawer. The board itself is separate — the hardware is what makes it functional rather than a fixed shelf.
How much weight can a pull-out cutting board hold?
Weight capacity depends on the slide, not the board. A full-extension ball-bearing slide handles a loaded board and produce without sagging, while a light-duty slide pulled from a spare drawer isn't built for that constant flex.
Do I need undermount or bottom-mount slides for a cutting board?
Bottom-mount side slides are the simpler DIY retrofit for an existing gap in 2026. Undermount soft-close slides hide completely under the board but require tighter alignment during install.
Can I convert an existing drawer into a pull-out cutting board?
Yes, if the drawer's existing slides are rated for the added weight of a board plus food. If they aren't, replace the slides rather than mounting a board on undersized hardware.
What thickness cutting board works with standard drawer slides?
Most off-the-shelf slide hardware is built around boards in the 3/4-inch to 1-inch range. Thicker boards usually need shimming or a slide rated for the extra clearance.
How do I fix a pull-out cutting board that sticks or binds?
Binding almost always traces back to a slide that isn't level or square, not the board itself. Recheck both slides with a level before adjusting or replacing the board.
Is a soft-close slide worth it for a cutting board?
Soft-close prevents the board from slamming shut with a knife or produce still on it, which matters more for a cutting board than for a standard drawer. It costs more setup time to align correctly.
Does Knobs.co sell just the hardware, not a finished cutting board?
Knobs.co stocks drawer slide brackets, replacement sockets, and mounting templates for building or repairing a pull-out cutting board setup, separate from the board itself.
One last thing
The mounting template is the cheapest insurance in this entire project — most DIY installs that end up crooked or binding skipped it to save a step. If you only buy one piece of hardware beyond the slides themselves in 2026, make it the template.