

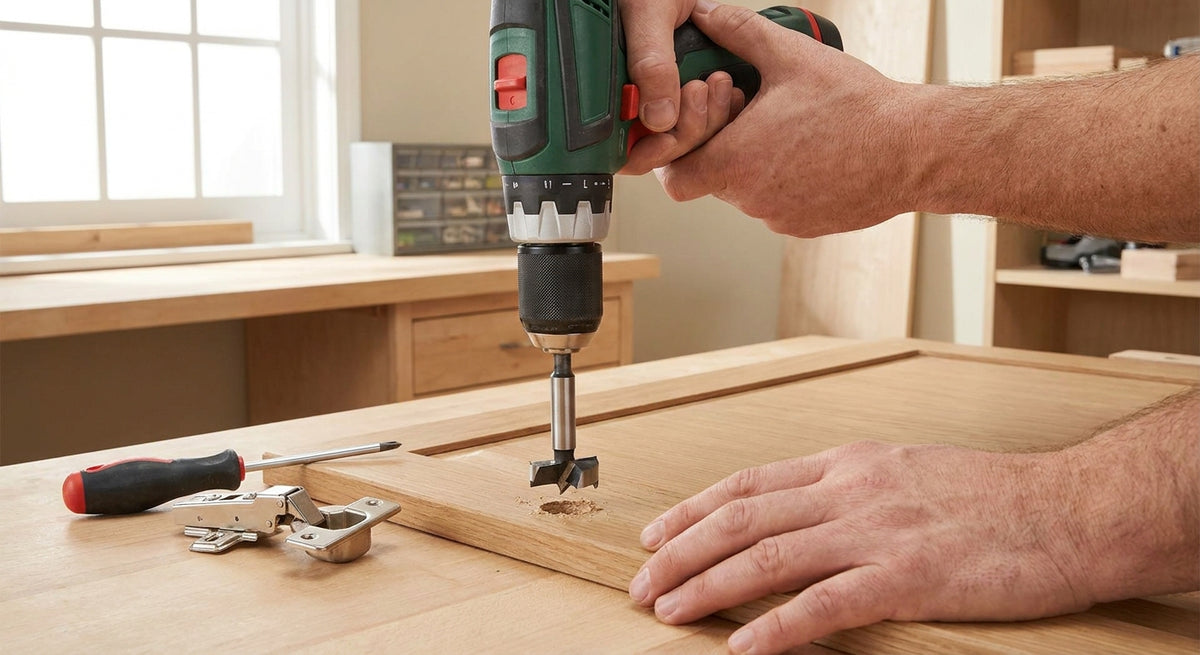
Installing European concealed hinges means boring a 35mm cup hole in the door, mounting a baseplate to the cabinet frame, then dialing in three-way adjustment until the door sits flush — most homeowners finish a full cabinet run in an afternoon once the first hinge is dialed in.
Shop cabinet hinges
Every cabinet hinge we carry, in one place — filter by overlay, mount type, and brand.
Browse Cabinet Hinges →- How to install concealed hinges starts with a 35mm cup bore and correct baseplate offset for your overlay type.
- Belwith Hickory Hardware's PBH3100 template kit ($27.20) keeps every hole aligned across a full kitchen — buy it before the first bore.
- Three-way adjustment (height, depth, side) fixes most sagging or rubbing doors after mounting — no new hardware needed.
- Full overlay, half overlay, and inset doors each need a different mounting plate offset; mixing them up is the most common mistake in 2026 remodels.
Shop the picks from this guide
In stock at Knobs.co · Free shipping on hardware orders $99+ · 110% price match
-
 Amerock
Functional Hardware 3/8'' Offset Non-Self Closing Face Mount Cabinet Hinge - 1 Pair BPR3406Antique Copper
Amerock
Functional Hardware 3/8'' Offset Non-Self Closing Face Mount Cabinet Hinge - 1 Pair BPR3406Antique Copper
$6.99
$8.22 -
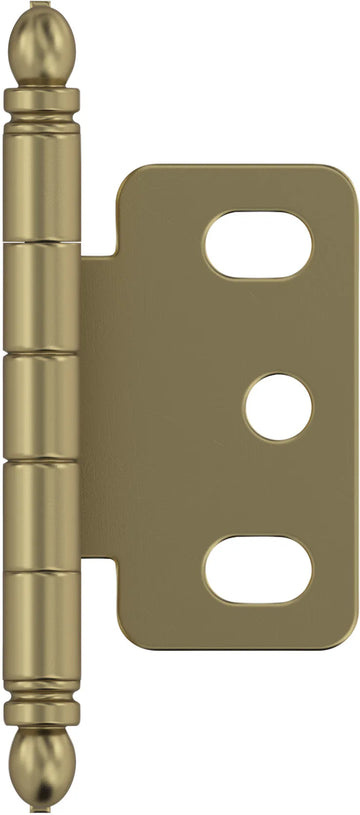 Amerock
Functional Hardware 3/4'' Door Thickness Full Inset Partial Wrap Ball Tip Cabinet Hinge - Single Hinge PK3180Golden Champagne
Amerock
Functional Hardware 3/4'' Door Thickness Full Inset Partial Wrap Ball Tip Cabinet Hinge - Single Hinge PK3180Golden Champagne
$5.90
$6.93 -
 Amerock
Functional Hardware 1/2'' Overlay Double Demountable Cabinet Hinge - 1 Pair BPR8704Burnished Brass
Amerock
Functional Hardware 1/2'' Overlay Double Demountable Cabinet Hinge - 1 Pair BPR8704Burnished Brass
$12.95
$15.23 -
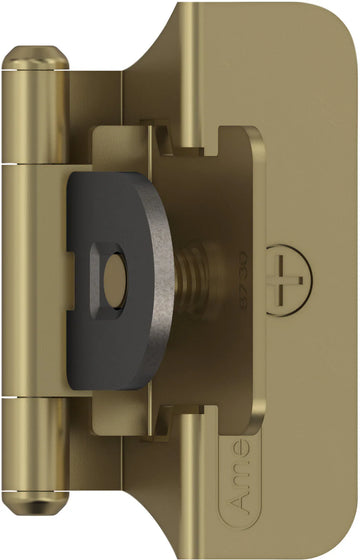 Amerock
Functional Hardware 1/4'' Overlay Double Demountable Cabinet Hinge - 1 Pair BPR8701Golden Champagne
Amerock
Functional Hardware 1/4'' Overlay Double Demountable Cabinet Hinge - 1 Pair BPR8701Golden Champagne
$12.95
$15.23 -
 Amerock
Functional Hardware Variable Overlay Self Closing Face Mount Cabinet Hinge - 1 Pair BPR3429Polished Chrome
Amerock
Functional Hardware Variable Overlay Self Closing Face Mount Cabinet Hinge - 1 Pair BPR3429Polished Chrome
$5.32
$6.25 -
 Amerock
Functional Hardware 3/4'' Door Thickness Full Inset Full Wrap Ball Tip Cabinet Hinge - Single Hinge PK3175Antique Brass
Amerock
Functional Hardware 3/4'' Door Thickness Full Inset Full Wrap Ball Tip Cabinet Hinge - Single Hinge PK3175Antique Brass
$5.56
$6.54


Why this matters
A misdrilled 35mm cup hole ruins a cabinet door — there's no filling and redrilling a bore that's off by 3mm without it showing. Concealed hinges also do more work than exposed hinges: soft-close mechanisms, adjustable overlay settings, and 165-degree swing angles all depend on getting the cup depth and baseplate offset right on the first pass.
The good news: the process is repeatable. Once you've set your jig for choosing the right cabinet hinge type and overlay, every door in the kitchen gets identical placement in under five minutes each. Rush the first door and you'll be drilling patch plugs for the rest of the project.
What you'll need
- A 35mm Forstner bit (standard cup diameter for nearly all European hinges)
- A cabinet hardware jig or mounting template — the Belwith Hickory Hardware Mounting Templates Collection kit ships with the 1-3/8'' bit already included
- A drill with adjustable depth stop
- Concealed hinges and matching mounting plates, matched to your overlay type (full, half, or inset)
- A tape measure, pencil, and a small clamp to hold the door steady while boring
- A #2 Phillips screwdriver or driver bit for final tightening
Don't skip the depth stop. Boring past 12-13mm on a 3/4'' door blows through the face — a mistake that ends the door, not just the hinge.
The steps
1. Measure and mark hinge placement
Most door heights use two hinges; anything over 40 inches tall or heavier than 15 lbs needs three. Standard placement puts the hinge cup centerline 3-4 inches from the top and bottom edge of the door — mark both with a pencil and square before touching the drill. Common mistake: eyeballing placement door-to-door instead of using one fixed jig setting, which leaves visibly uneven reveals across a run of cabinets.
2. Bore the 35mm cup holes
Set your drill's depth stop to 12-13mm and clamp the door face-up on a scrap backer board to prevent blowout on the exit side. Bore straight down, no wobble — a tilted hole means the hinge cup sits crooked and the door won't close flush no matter how you adjust the plate. Common mistake: boring without a backer board, which splinters the exit face on veneered or MDF doors.
3. Install the hinge cup into the door
Press the hinge cup into the bore and rotate it until the arms sit parallel to the door edge, then drive the two mounting screws. Snug, not stripped — over-torquing the small screws on MDF doors pulls the threads right out. Common mistake: installing the cup backwards, which puts the adjustment screws facing the wrong direction once the door is hung.
4. Attach mounting plates to the cabinet frame
Mounting plate offset changes with overlay: a full overlay door needs roughly 0mm of offset, a half overlay needs around 6mm, and an inset door sits flush with negative offset. Measure your existing hardware or check the face frame hinge installation guide before ordering plates if you're replacing hinges on a face-frame cabinet. Common mistake: ordering full overlay plates for an inset door — the door sits proud of the frame by several millimeters and never closes flush.
5. Hang the door on the hinges
Clip the hinge arm onto the mounting plate — most European hinges snap on without tools, though some brands need a screw to lock the connection. Check that the door swings freely before final tightening. Common mistake: forcing a clip-on hinge that doesn't seat with an audible click, which leaves the door loose and prone to dropping.
6. Adjust for reveal and alignment
Every European hinge gives you three adjustment screws: depth (in/out), height (up/down), and side (left/right). Turn each in quarter-turn increments and recheck the door against its neighbors after every adjustment — a 1-2mm gap should run even top to bottom. Common mistake: cranking one screw all the way to fix a gap instead of splitting the correction across all three axes, which throws the door out of square.
7. Test the swing and soft-close action
Open the door to its full 120-165 degree range (check your hinge's spec) and let it swing shut on its own if it's a soft-close model. It should land quiet, without a slam or a bounce-back. Common mistake: stopping after one test swing — soft-close mechanisms sometimes need a few open-close cycles before the damper seats correctly.
8. Final tightening and walk-through
Once every door on the run is aligned, go back and snug every screw one more time — vibration from drilling neighboring doors loosens the first few installed. Stand back and check reveals across the whole cabinet bank in one glance. Common mistake: skipping this pass and finding one door has drifted a week later.


Troubleshooting
- Door sags at the bottom corner — the mounting plate screws have stripped their pilot holes. Move to slightly larger screws or fill and redrill the plate location.
- Door won't sit flush against the frame — you likely mismatched overlay type on the mounting plate. Recheck full vs. half vs. inset offset before reordering plates.
- Cup blew through the door face — the depth stop was set too deep or the drill wandered. On a 3/4'' door, 12-13mm is the ceiling; anything more risks a through-hole.
- Hinge won't hit full 165-degree swing — check for a neighboring cabinet frame or drawer box blocking the arm; some overlay configurations need a lower-profile hinge arm.
- Soft-close doesn't engage — cycle the door 8-10 times; some dampers need a break-in period before they catch consistently.
- Door rattles when closed — the side adjustment screw is backed out too far, leaving play in the strike. Turn it in a quarter turn and recheck.
Tools and resources
- Cabinet hardware jig for perfect placement — walks through jig setup for repeat accuracy across a full kitchen
- Forstner bit sized to 35mm, matched to your hinge cup spec
- A degreaser or mild soap for cleaning door faces before marking — pencil marks don't hold on greasy MDF
- Knobs.co stocks concealed hinges, mounting plates, and the template kits needed for the whole job in one order, which saves a second shipping wait mid-project
What to do next
Once the hinges are set, check whether your current hardware is due for an upgrade — soft-close function makes the biggest difference in daily use. The soft-close hinges for face-frame cabinets guide breaks down which models hold up best under 2026 kitchen traffic if you're weighing an upgrade alongside this install.
FAQ
How do you install European concealed hinges on cabinet doors?
Bore a 35mm cup hole 12-13mm deep, seat the hinge cup, mount the baseplate to the cabinet frame at the correct overlay offset, then hang and adjust the door on three axes. Most doors take under 20 minutes once the jig is set for 2026-standard European hinge hardware.
What size drill bit do I need for concealed hinges?
A 35mm Forstner bit is the standard cup size for nearly all European concealed hinges. Some specialty hinges use a smaller 26mm or 40mm cup, so check the hinge spec before drilling.
Is a jig necessary to install concealed hinges?
A jig isn't strictly required but it's the difference between even reveals and a door-by-door guessing game. A template kit locks in cup position and screw holes so every door on the run matches.
How much overlay offset do I need for full overlay doors?
Full overlay doors typically use close to 0mm of mounting plate offset, while half overlay needs roughly 6mm and inset doors need negative offset. Mismatching offset is the top reason doors don't sit flush.
Why won't my cabinet door close flush after installing hinges?
An unflush door usually means the wrong overlay offset on the mounting plate, or the three-way adjustment screws haven't been dialed in yet. Adjust depth, height, and side in small increments before assuming the hardware is defective.
Can I reuse the same holes when replacing old hinges?
Only if the new hinge's cup diameter and screw spacing match the old one exactly. Mismatched hardware usually means filling the old holes and redrilling at the correct 35mm spec.
How many hinges does a cabinet door need?
Standard-height doors under 40 inches use two hinges. Doors taller than 40 inches or heavier than roughly 15 lbs need a third hinge to prevent sagging.
Do concealed hinges come with soft-close built in?
Not always — some concealed hinges are self-close only, while soft-close models add an internal damper that slows the last few inches of swing. Check the listing before ordering if quiet closing matters.
One last thing
Most DIY installs go wrong not at the drill but at the adjustment screws — homeowners crank one screw to fix a gap instead of splitting the correction across depth, height, and side. Spend the extra two minutes per door making small quarter-turn adjustments on all three axes, and every hinge in the kitchen will match without a single redrilled hole in 2026.


